I've made Chicken Enchiladas countless times,
but until recently I'd only used red sauce.
And when prepping to make this batch,
I realized I've never blogged about making them.
So today is your lucky day folks!
Not only do you get to see how they're made,
but you get to see how you can make them
with two different types of enchilada sauce!
These Chicken Enchiladas are yummy,
pretty simple to make too,
and can be even made ahead of time.
Keep reading to see how they're made!
The Goods:
Chicken Breasts
Corn Tortillas
Yellow Onion
Garlic
Taco Seasoning
Cheese
Red Enchilada Sauce
Green Enchilada Sauce
Olive Oil (Not pictured - oops!)
Season your chicken with taco seasoning and a little olive oil.
I use a homemade mix, but use whatever you'd like.
Roast your chicken in the oven until fully cooked.
Once the chicken has cooled enough to touch,
start shredding it using two forks.
Now it's time to saute your onion and garlic in a little olive oil.
Once they're nice and fragrant remove from the heat...
And add to the bowl of shredded chicken.
Toss everything together so it's evenly mixed.
It's almost time to assemble and roll your enchiladas!
Get your pan(s) prepped - spray with PAM and then add a thin layer of sauce.
Since I was doing two kinds, I had one with red and the other with green.
Lay corn tortilla on a flat surface and add filling to your liking.
You'll want enough filling so your enchilada is hearty,
but not too much so you can't roll the tortilla.
Roll the tortilla up and place it seem side down into the sauce.
Keep rolling until your pan(s) are full and you've used all the filling.
Then cover with more sauce (the same kind you used on the bottom).
If you're baking the enchiladas right away, top with shredded cheese.
Use whatever your little heart (and taste buds) desires,
but I tend to use cheddar with red sauce and jack cheese with green sauce.
Bake at 350 degrees for about 15 minutes - until cheese is melted.
Now all that's left to do is dig in and ENJOY!
(But don't burn your mouth with hot cheese!!!)
If you're not baking them right away,
leave the cheese off and add when it's time to bake.
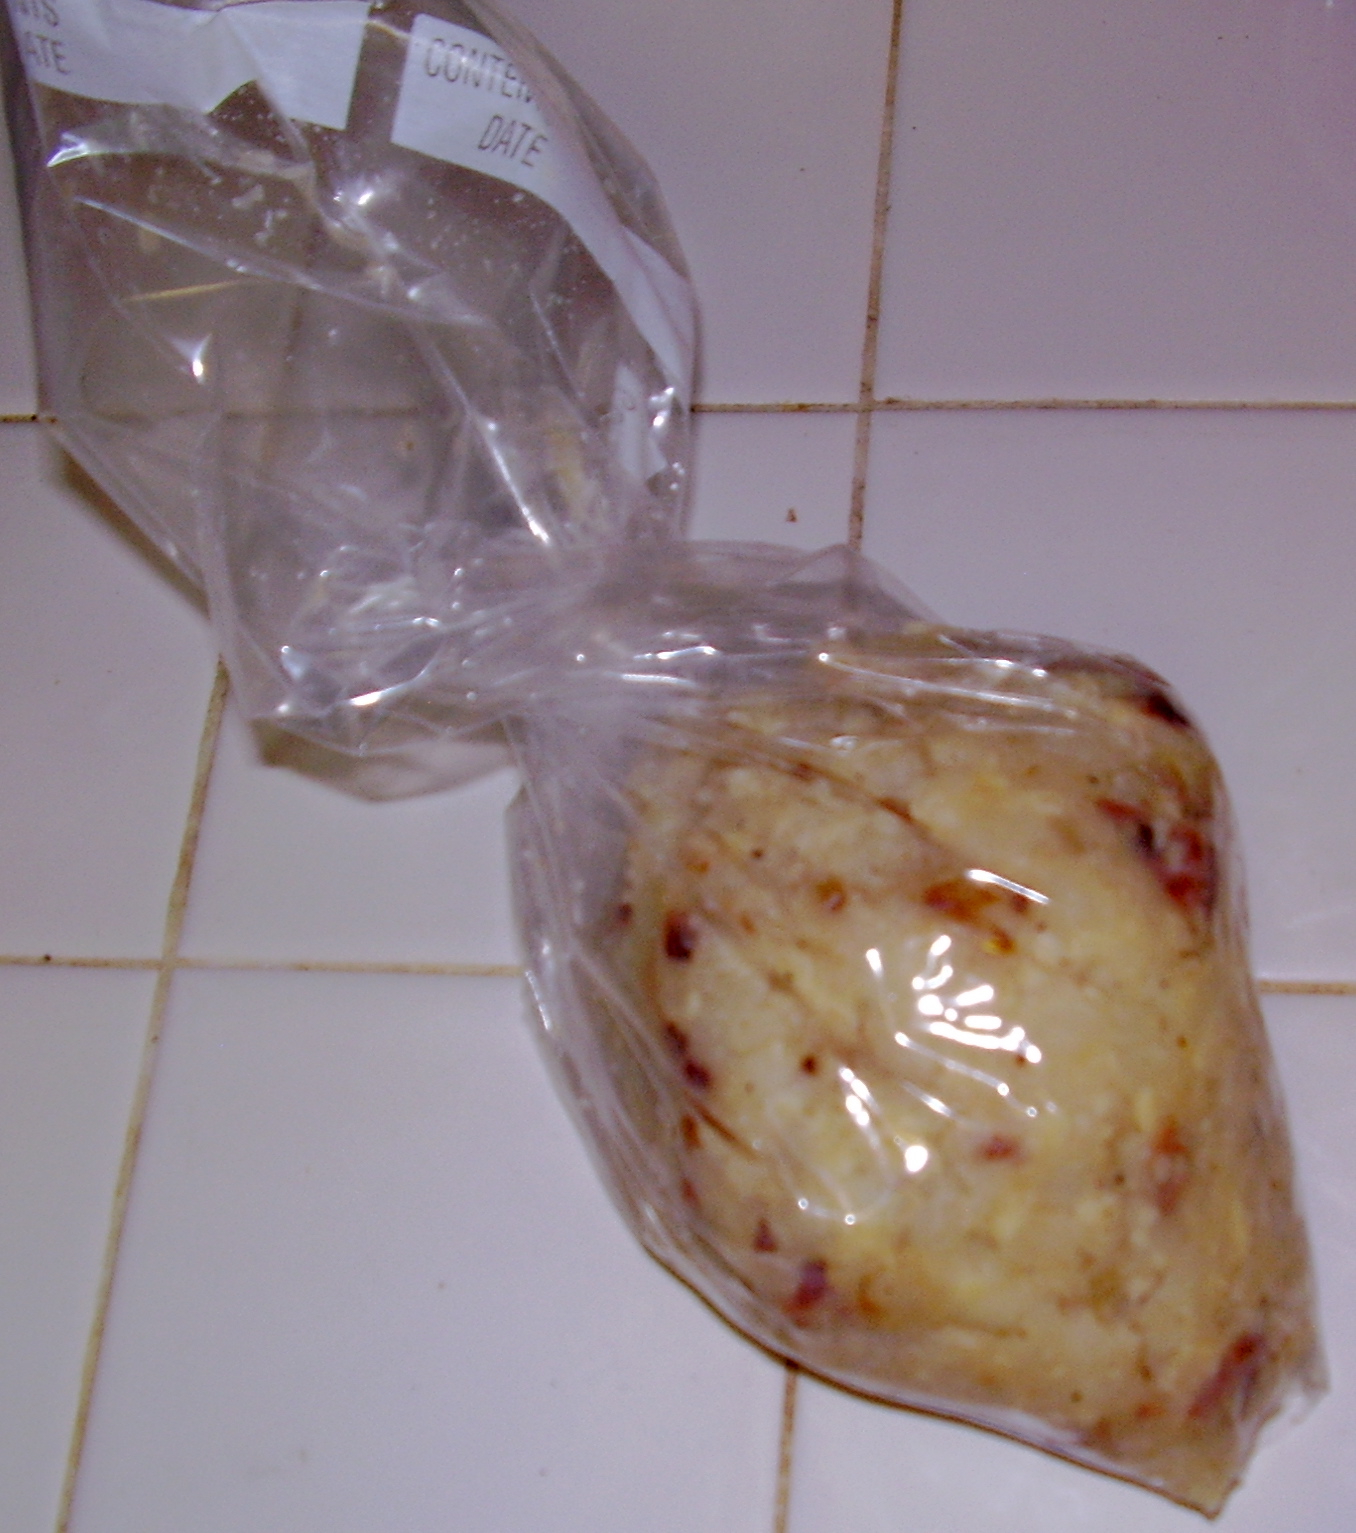
Freeze in baking dish(es) that are tightly sealed in zipper bags.
Chicken Enchiladas
1 pound chicken breasts
16 corn tortillas
1 medium yellow onion - diced
2 cloves garlic - minced
1 tablespoons olive oil, divided
1 to 1 1/2 tablespoons taco seasoning
1 cup shredded cheese (
1/2 cup cheddar, 1/2 cup jack)
1 10-ounce can red enchilada sauce
1 10-ounce can green enchilada sauce
- Season your chicken with the taco seasoning and 1 tablespoon of olive oil.
- Roast at 350 degrees for about 40 minutes - until fully cooked.
- Let chicken cool and then start shredding with two forks.
- Saute your onions and garlic with the remaining table spoon of olive oil.
- Once fragrant, remove from heat and add to shredded chicken. Toss to combine.
- Spray your pan(s) with pan and put a thin layer of enchilada sauce on the bottom.
- Microwave your tortillas for about 30 seconds to make them easier to roll.
- Add about 1/4 cup of filling to each tortilla and roll up to form enchilada.
- Place rolled enchiladas in pan, continuing until each pan is filled.
- Top with remaining enchilada sauce.
- If freezing to bake later (in the next few months at most!), leave the cheese off and add when ready to bake. Freeze in baking dish(es) that are tightly sealed in zipper bags. Then add cheese before ready to bake.
- If baking the enchiladas right away, add shredded cheese and bake at 350 degrees for about 15 minutes - until cheese is melted.


.jpg)
.jpg)