Showing posts with label Comfort Food. Show all posts

Sunday, February 7, 2016

Homemade Soft Pretzels for Super Bowl!!!

Happy Super Bowl Sunday Guys!!!
Today is not only about football,
but also about all the yummy food!

I am going to be making a few things,
one of which is my Homemade Soft Pretzels,
which were requesed by a close friend.

The below post was published in 2013,
but since I am making them again today,
I figured why not repost and share their deliciousness?

While visiting my brother and his family in Kansas City, I met an amazing woman named Heather. She is a foodie like me and we clicked almost instantly! I soon found out about her Soft Pretzel Bites and KNEW I would be making them when I got back to California. 

After telling a friend about them, I couldn't wait any longer and made them last night. I made the whole batch, and was able to freeze more than half. I got a craving for one today while editing these photos and I can tell you they are just as amazing microwaved right out of the freezer. I will be making these again soon, even if it's just to stock my freezer with these tasty little treats!

Take a look at how I made some of the best soft pretzels I've ever had! Oh and you should also make them yourself - you WON'T be sorry!!!
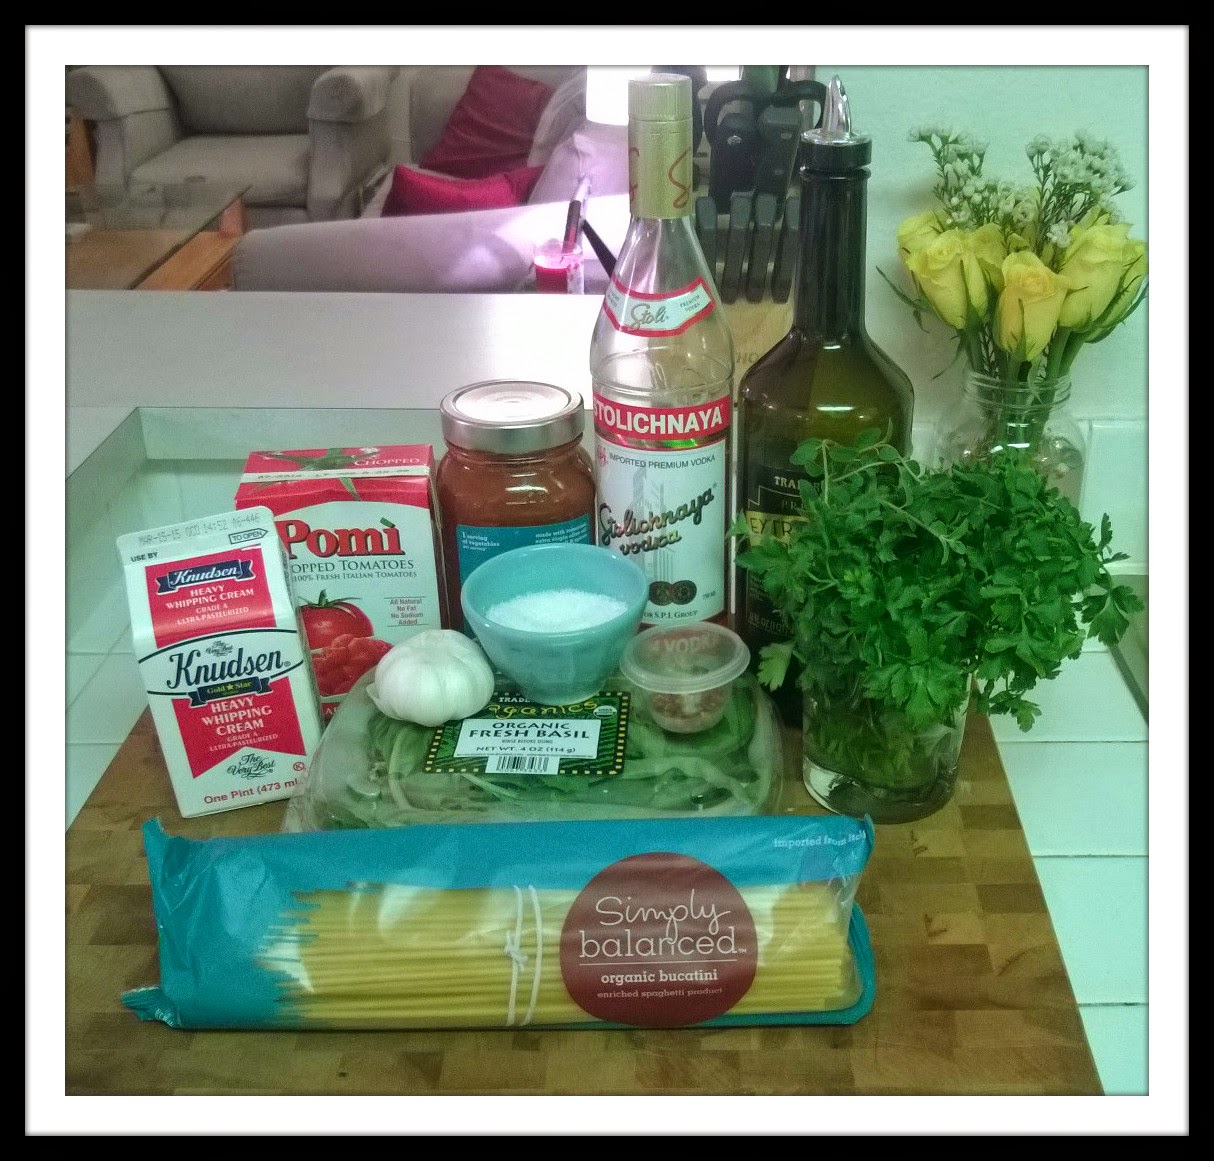
The Goods:
Vegetable Oil
Flour
Water
Baking Soda
Sugar
Kosher Salt
Sea Salt
Egg Yolk
Butter
Active Dry Yeast

Combine the warm water, kosher salt and sugar.

Add the yeast and let it do it's thing.

Using the dough hook attachment, mix in the flour and butter.

Kneed on medium speed for 4 to 5 minutes - 
until the dough is pulling away from the sides of the bowl.

Oil bowl/dough, cover with plastic wrap and let rise for about an hour.

Until it looks like this!

Roll it out onto a lightly oiled surface.

Divide into eight equal portions and roll our until 24 inches long.

Form pretzels or cut into bite sized pieces. 

Place all pieces on lightly oiled, parchment lined baking sheets.

Bring water and baking soda to a rolling boil.

Boil each pretzel individually for 30 seconds and return to baking sheets.
(Or 10 bite sized pieces at a time) 

Bake for about 10 minutes.

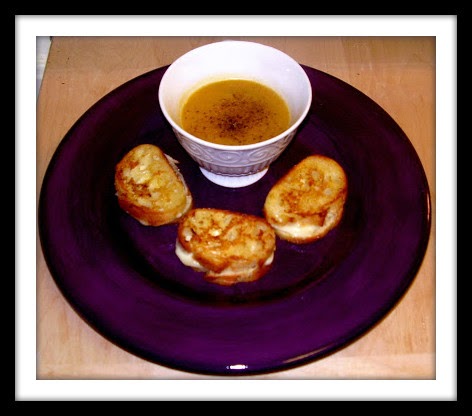
Remove from baking sheet and brush a little extra butter on top.

And serve with some jalapeno cheese - my fave!

Thanks Heather. I already cannot wait to make more!!!

Sunday, January 31, 2016

Homemade Chicken Pho

I was with my aunt and uncle the first time I had pho.
I loved it from the very first bite,
so we started talking about me attempting to make it.
I knew it wouldn't be easy,
but I wanted to give it a shot anyway.

So when I stayed with them for a few days,
I found this recipe and decided to give it a try!
 And of course, because I'm me and don't do things the easy way,
I decided to modify the recipe by chaing a few things.
Take a look below at how I made homemade chickn pho!

The Goods:
Yellow Onions
Fresh Ginger
Water
Bone-in Chicken Breasts
Chicken Drumsticks
Salt
Sugar
Cardamon Seeds
Coriander Seeds
Fennel Seeds
 Fish Sauce
Dried Rice Noodles
Scallions
Bean Sprouts
Mint (or Thai Basil)
Cilantro
Limes
Jalapenos
Chili Oil
Siracha
Hoisin Sauce
Shallots

Quarter two onions and smash three, 1/2 inch pieces of ginger.
Place in lightly oiled pan and roast at 400 degrees for 30 minutes,
or until soft and chared. 
 
While roasting, fill a LARGE pot with water and bring to a boil.

The finished chared onions and ginger.

Once the water is boiling, add the chared onions, ginger, chicken, salt, 
sugar, corriander seeds, cardimon seeds, fennel seeds and bring to a boil.

Return to a boil, reduce heat and simmer for about 30 minutes,
until all chicken is fully cooked.

Once cooked, remove chicken from the broth and cool slightly.
Take all the meat off the bone and refrigerate the chicken,
saving the skin and bones to return to the broth.
 
Put the skin and bones back into the broth and simmer twelve hours.
Yes - TWELVE HOURS!!!
 I did it overnight and it worked out perfect.

After twelve hours, broth should be reduced by half,
so remove the bones, skin, onions and ginger.
Then strain at least twice using cheesecloth.
 
Now add the fish sauce, adjusting to your taste.
If needed, add additional salt too.

Make sure to keep your broth really warm...

While you get all your garnishes prepped...

And your table set so you're ready to dig in!

Now it's time to prepare your noodles according to the package directions.

Oh and get your bowls and meat ready to go too!!

Place a nice helping of noodles on the bottom of your bowl,
followed by your cooked, chilled chicken.

Ladle a bunch of super hot broth on top of the noodles and chicken,
sprinkling some shallots on top too.
 
Lastly, finish off with whatever garnishes you desire and then dig in!!!

OH MY GOSH YOU GUYS!!!
I'm so amazed at the outcome of this!
I thought it tasted amazing and quite authentic,
and my aunt, uncle and grandma seemed impressed too.
I have only made it once because it's a pretty long process,
but totally worth it in the end!!!

Homemade Chicken Pho
Adapted from Smitten Kitchen
Makes 4 Helpings with Additional Broth

2 Yellow Onions
Fresh Ginger
4 Quarts Water
2 Bone-in Chicken Breasts
12 to 15 Chicken Drumsticks
1 to 2 Tablespoons Kosher Salt
2 Teaspoons Sugar
1 to 2 Tablespoons Cardamon Seeds
1 to 2 Tablespoons Coriander Seeds
1 to 2 Tablespoons Fennel Seeds
1/8 to 1/4 Cup Fish Sauce
1 Pound Dried Rice Noodles
2 Scallions, Thinly Sliced
1 Bag Bean Sprouts
1 Bunch Mint (or Thai Basil)
1 Bunch Cilantro
2 to 3 Limes, Cut into Wedges
2 Jalapenos, Thinly Sliced
Chili Oil
Siracha
Hoisin Sauce
Crispy Fried Shallots

  1. Quarter two onions and smash three, 1/2 inch pieces of ginger. Place in lightly oiled pan and roast at 400 degrees for 30 minutes, or until soft and chared.
  2. While roasting, fill a LARGE pot with water and bring to a boil.
  3. Once the water is boiling, add the chared onions, ginger, chicken, salt, sugar, corriander seeds, cardimon seeds, fennel seeds and bring to a boil.
  4. Return to a boil, reduce heat and simmer for about 30 minutes, until all chicken is fully cooked.
  5. Once cooked, remove chicken from the broth and cool slightly. Take all the meat off the bone and refrigerate the chicken, saving the skin and bones to return to the broth.
  6. Put the skin and bones back into the broth and simmer twelve hours.
  7. After twelve hours, broth should be reduced by half, so remove the bones, skin, onions and ginger. 
  8. Strain at least twice using cheesecloth. 
  9. Now add the fish sauce, adjusting to your taste. If needed, add additional salt too. 
  10. Keep your broth really warm while you get your garnishes all ready.
  11. Prepare your noodles according to the package directions.
  12. Place a nice helping of noodles on the bottom of your bowl, followed by your cooked, chilled chicken. (Note - you can substitue SUPER THIN sliced beef instead of the chicken if you'd like.)
  13. Ladle a bunch of super hot broth on top of the noodles and chicken, sprinkling some shallots on top too.
  14.  Lastly, finish off with whatever garnishes you desire and then dig in!

Saturday, August 8, 2015

Mini Chocolate Chip Cookies

I realized I have never blogged about my Chocolate Chip Cookie recipe!
I'm finally getting around to sharing that recipe with you guys today, 
but instead of the "normal" size, I made a batch of mini cookies!!!

As I mentioned in this post, the Chocolate Chip Cookie recipe I use 
is the original Tollhouse recipe found on the back of the bag.
The ONLY thing I do differently is bake them a few minutes less. 

The Goods:
Flour
Baking Soda
Salt
Sugar
Brown Sugar
Semi Sweet Chocolate Chips
Macadamia Nuts
Vanilla
Eggs
Unsalted Butter (Not pictured - whoops!)

Measure out and prep all your good before you get started.
This makes the cookie making process a lot faster!

Let butter soften, then beat with mixer.
Add sugar, brown sugar and vanilla then mix.
Add eggs and mix to incorporate completely.
Add the dry ingredients and mix again.

Finally, add in the chocolate chip and mix until combined. 

Preheat oven to 350 degrees.

Now the easy part is done!
The next step isn't exactly "hard",
but does take some time and patience.

Pinch the SMALLEST bit of dough possible,
and space them out on a parchment lined cookie sheet.

To get the right sized cookie, this took some trial and error.
You'll think you need much more dough,
but those "blobs" are about the size of a dime!!!

Bake your cookies for about 5 minutes.
Once they start to turn golden, they're ready!

Cool on the pan for a minute.
Then place on a wire rack to finish cooling.

When I make "normal" sized cookie, I usually get a few dozen...

But with the mini ones I made over 350 cookies.
Yes, you read that right folks!
More than THREE HUNDRED & FIFTY mini cookies!

Now it's time to grab an ice cold glass of milk
and taste test a few (ok, maybe like 10) mini cookies!

And then package up the rest for a cute boy and your coworkers!
Even though there were SO many cookies,
all of them were eaten in less than 24 hours!!!

Mini Chocolate Chip Cookies
2 1/4 Cups All Purpose Flour
1 Teaspoon Baking Soda
1 Teaspoon Salt
3/4 Cup Sugar
3/4 Cup Brown Sugar
1 Teaspoon Vanilla
2 Eggs
2 Sticks Unsalted Butter
1 Bag Semi Sweet Chocolate Chips
  1. Preheat oven to 350 degrees.
  2. Combine flour, baking soda and salt. Set aside 
  3. Let butter soften, then beat it with mixer.
  4. Add sugar, brown sugar and vanilla then mix.
  5. Add eggs and mix to incorporate completely.
  6. Add the dry ingredients and mix again.
  7. Finally, add in the chocolate chip and mix until combined. 
  8. Pinch the SMALLEST bit of dough possible, and space them out on a parchment lined cookie sheet. Make sure to leave enough room for them to expand.
  9. Bake your cookies for about 5 minutes. Once they start to turn golden, they're ready!
  10. Cool on the pan a minute, then finish cooling on a wire rack.

Friday, February 20, 2015

Vodka Blush Sauce with Bucatini

I've had this recipe a looooong time - a few years at least. 
I can't even remember where I originally found it,
but it's been in my recipe binder just waiting to be made.

While doing my weekly meal planning I've passed it many times,
but I recently had a HUGE craving for some kind of pasta,
so I finally whipped out my recipe for Vodka Blush Sauce!

The Goods:
Bucatini Pasta
Olive Oil
Vodka
Marinara Sauce
Chopped/Diced Tomatoes
Heavy Cream
Garlic
Salt
Red Pepper Flakes
Fresh Basil
Fresh Flat Leaf Parsley
Fresh Oregano
 Parmesan Cheese (Not pictured - oops!)
(Full Recipe at bottom of post!)

Heat the olive oil in a large pan, add garlic and red pepper flakes.
Saute for about 30 seconds - until garlic is starting to get fragrant. 
Add marinara sauce, stir, add the chopped tomatoes and stir again.

Next measure out your vodka and add to the sauce.

Add a whole bunch (that's how I measured at least) of fresh herbs!
I used fresh basil, flat leaf parsley and oregano.
Stir to combine and bring to a simmer.
Cook the sauce for about 15 minutes...

Until it looks something like this!

Now add your cream.

Give it another good stir and your sauce is almost done!
Let it simmer 5 more minutes.

At the last minute, I decided the sauce needed something more.
So I added a whole bunch (again - how I measured!) of fresh parmesan.

While the sauce was first simmering, I started my pasta.
I chose to use bucatini, but any pasta would be fine.
Just cook according to the package directions.
OR if you have time - make your own!

Once your pasta is cooked drain it well.

Then add the pasta to your sauce and fully combine together. 
And that's it folks! 

Serve with a little more fresh parmesan and herbs.

This recipe is so easy to make and can even be enjoyed by little ones.
The vodka cooks off, but leaves an amazing taste to the sauce.
I didn't time how long it took me, but I'm betting it was around a half hour.

Vodka Blush Sauce with Bucatini
1 tablespoon olive oil
1 clove garlic, minced
1 heaping teaspoon red pepper flakes
1 large box (26.5 oz) chopped tomatoes
1 jar (24 oz) marinara sauce
2 tablespoons (+/-) fresh flat leaf parsley
1 tablespoon (+/1) fresh basil
1 teaspoon (+/-) fresh oregano
1/4 vodka
1/2 cup heavy cream
fresh parmesan to your liking
salt to taste
1 pound bucatini

Note: the herb measurements should be your guideline,
but as shown above I didn't accurately measure those myself. 

  1. Bring a large pot of salted water to a boil and cook your pasta according to the package directions. (You should start the pasta once your sauce is simmering the first time.)
  2. In a large saute pan, heat the olive oil then add your garlic and red pepper flakes. Cook for about 30 seconds.
  3. Add marinara sauce and chopped tomatoes, then stir to combine.
  4. Add the vodka and stir again.
  5. Add the fresh herbs, stir once again. 
  6. Bring the sauce to a simmer and cook for about 15 minutes.
  7. Add the heavy cream, stir and simmer 5 more minutes.
  8. Add the freshly grated parmesan and stir.
  9. Drain your pasta fully, add to the sauce and combine fully.
  10. Serve with more fresh parmesan and herbs.

Sunday, February 8, 2015

Homemade Freezer Meals!

I absolutely love cooking, but with my schedule 
I don't always have time to whip up a homemade meal.

So over the years, I've become smarter
and realized I can make certain things ahead of time,
pop them in the freezer and then bake/heat at a later time!
This has come in hand on NUMEROUS occasions.

You've read about all of these recipes before,
but I thought I'd put them all in one place for you.
For most of the recipes listed -
I usually make enough to eat once (and have leftovers) 
and a similar size to freeze and eat again soon!


Soup

Soup

and MORE Soup 

I have some ideas for more freezer meals to make in the future,
but am always looking for suggestions so please send them my way!