
I've been making Coco Date Balls for awhile.
They're really good and super tasty,
but I was looking for something a little more substantial.
That's when Google helped out once again and I found this recipe!
I made it literally within hours and love them from the first bite.
They are really yummy, satisfy a sweet craving AND are full of protein.
Oh and did I mention they're peanut butter flavored too?
My boyfriend I and were HUGE fans and I can't wait to make them again.
Here's how you can make them yourself!

The Goods:
Rolled Oats
Vanilla Protein Powder
Cinnamon
Chia Seeds
Peanut Butter
Honey
Vanilla Extract
Peanut Butter Chips
Milk

In a large mixing bowl add the oats, protein powder, cinnamon and chia seeds.
Stir to combine.

Add the peanut butter, honey, vanilla extract and peanut butter chips.
Stir to combine.
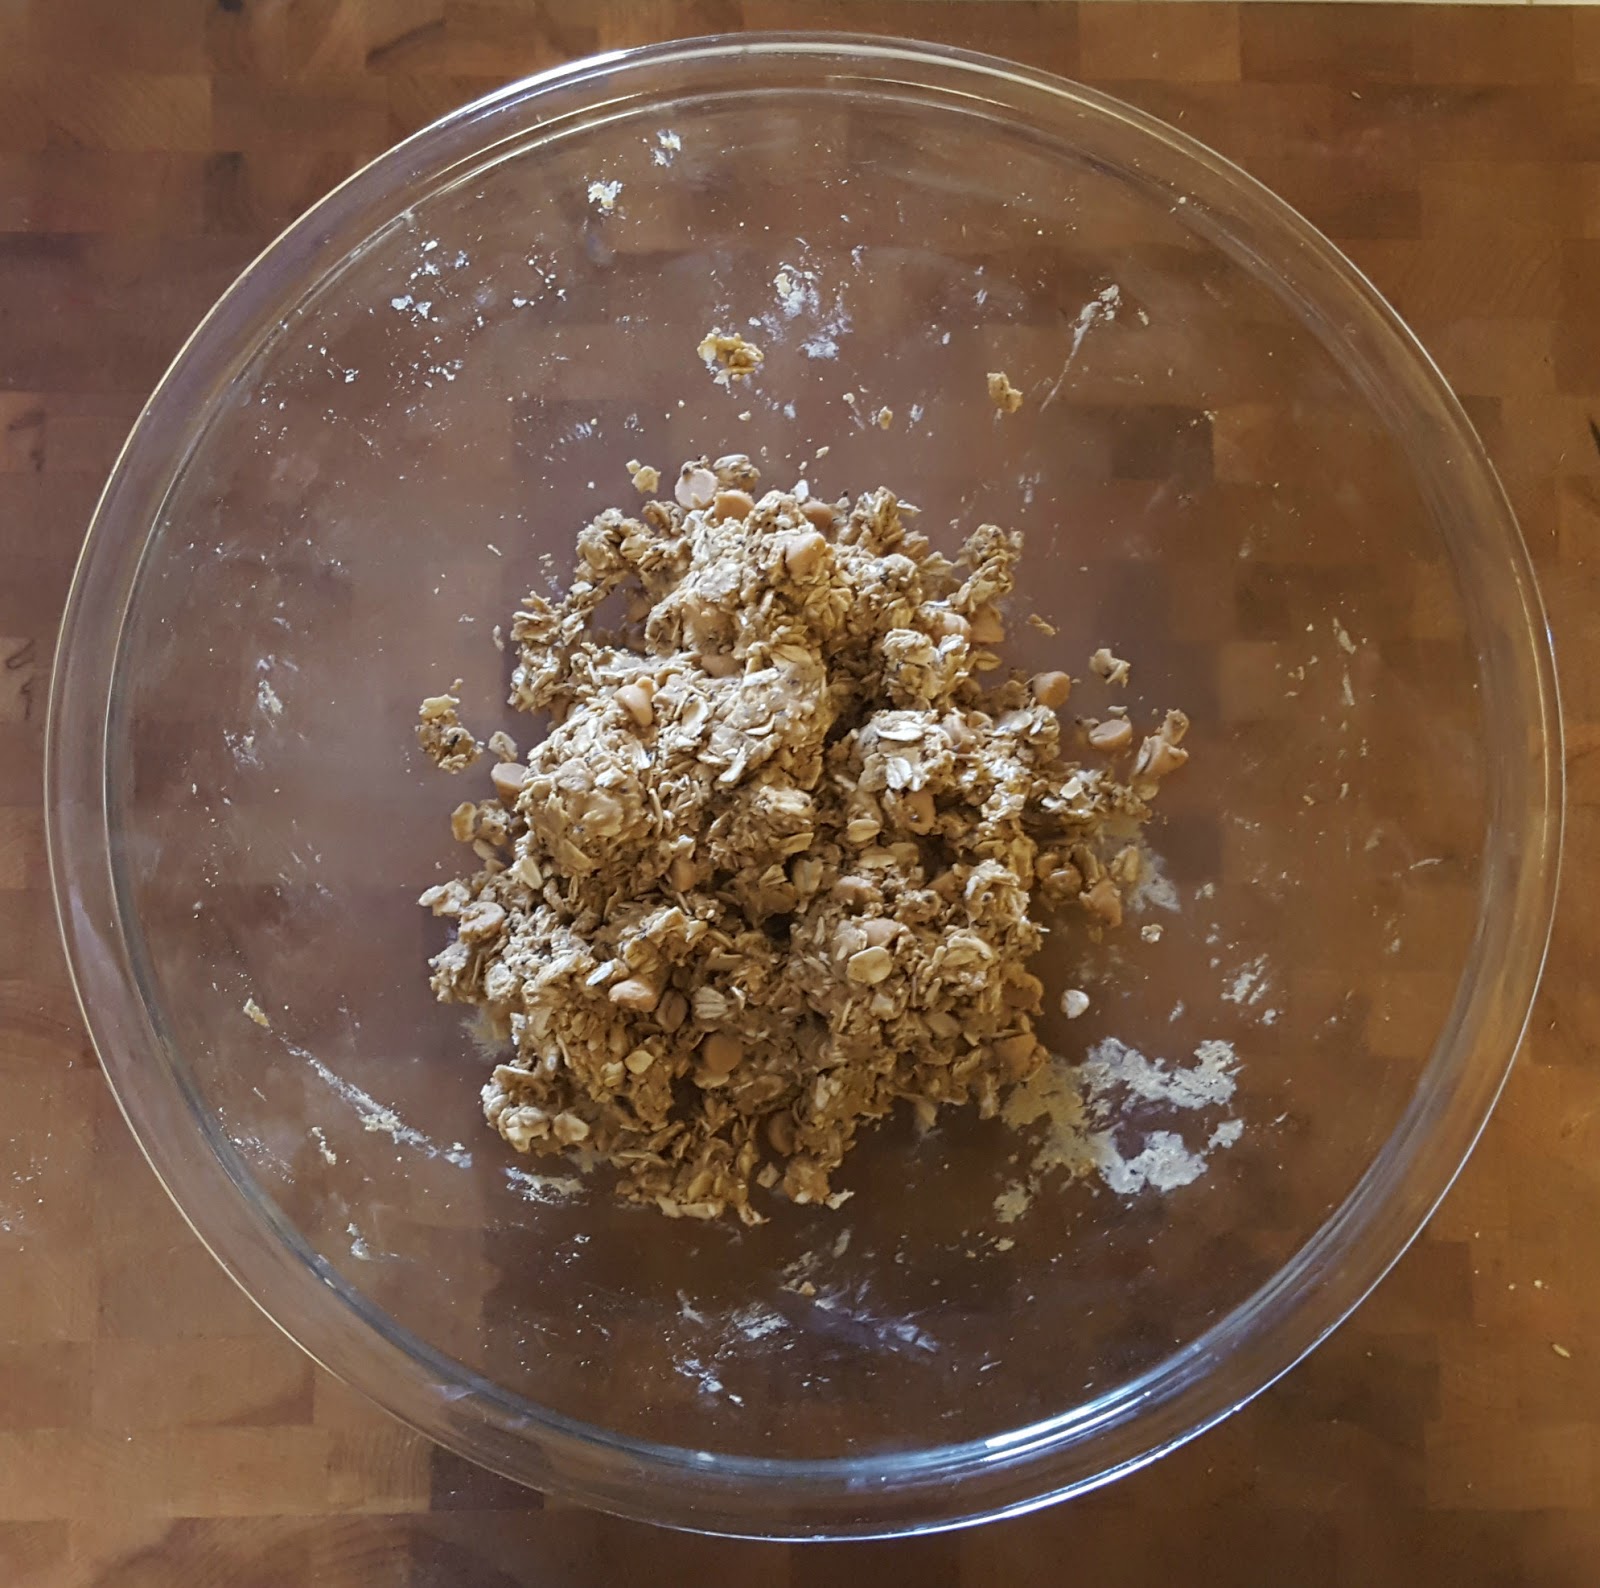
Slowly add in milk, one tablespoon at a time, until mixture is sticky and holds together.

Roll into balls using your hands.
Let set up in fridge for at least half hour.
Store in the fridge in an airtight container.
Peanut Butter Protein Bites
Inspired By The Healthy Maven
1 1/2 Cups Rolled Oats
1/2 Cup Vanilla Protein Powder
1/2 Teaspoon Cinnamon
1 Tablespoon Chia Seeds
1/2 Cup Peanut Butter
3 Tablespoons Honey
1 Teaspoon Vanilla Extract
1/3 Cup Peanut Butter Chips
2 to 4 Tablespoons Milk
- In a large mixing bowl add the oats, protein powder, cinnamon and chia seeds. Stir to combine.
- Add the peanut butter, honey, vanilla extract and peanut butter chips. Stir to combine.
- Slowly add in milk, one tablespoon at a time, until mixture is sticky and holds together.
- Roll into balls using your hands.
- Let set up in fridge for at least half hour.
- Store in the fridge in an airtight container.


