Showing posts with label Sewing. Show all posts

Friday, August 12, 2016

DIY: Trough Planter Liners and Succulent Garden

A few weeks ago I posted the picture below on my Instagram.


I used to blog about my balcony garden quite often
but life got busy and my gardening was put aside.
I recently got the gardening bug again
and figured a succulent garden would be less work,
so today I'm sharing how easy it was to make mine!

I already had four of these awesome trough planters on hand.
I used to have coconut liners in them with seasonal flowers,
but I got sick of replacing them all too often
and sadly just had empty planters for awhile.

I had plans to purchase more coconut liners,
but in all honesty I wanted a different option.
While coconut liners look pretty nice,
it's my experience that they don't hold up well.
And after very little effort I think I found a good alternative...
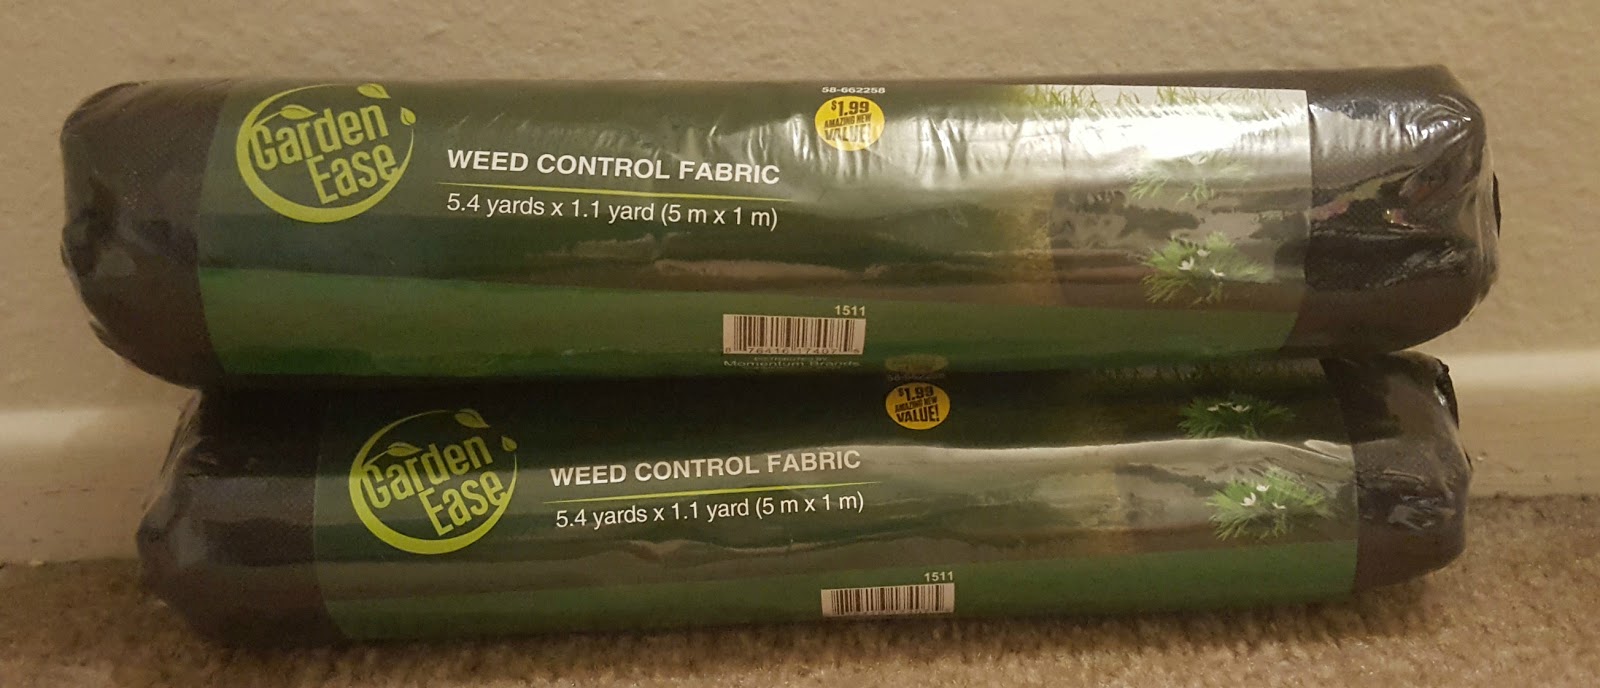

My original though was to use rolls of burlap,
but the two rolls above caught my eye at a 99 cent store!
Together they cost me less than five dollars,
which is a lot cheaper than coconut liners,
so even if it didn't work I hadn't wasted that much money.

Before I even started on the project,
I knew the liners wouldn't be perfect or even close.
I am a HUGE perfectionist,
but I am not great at sewing by any means.
Please keep that in mind as you continue to read.

I simply wrapped one end of the liner around the trough planter,
making sure to leave extra so it lines not only the outside of the planter,
but so that it line the inside of the planter as well
I figured double lining would hold up best!

Just like with a past DIY post, I had a cute furry little helper!

Hopefully this shot gives you a better idea of how I was wrapping the liner.

Once I knew the exact size I needed,
I cut not only one for the planter I was working on,
but four in the same size to line all my trough planters!

Now the sewing fun begins!
(Sense the sarcasm???)

I first sewed the liner so it was secure to one side of the trough planter,
pulled the fabric tight and re-positioned it before continuing to sew the other side.

Like I warned you, it doesn't look super pretty...
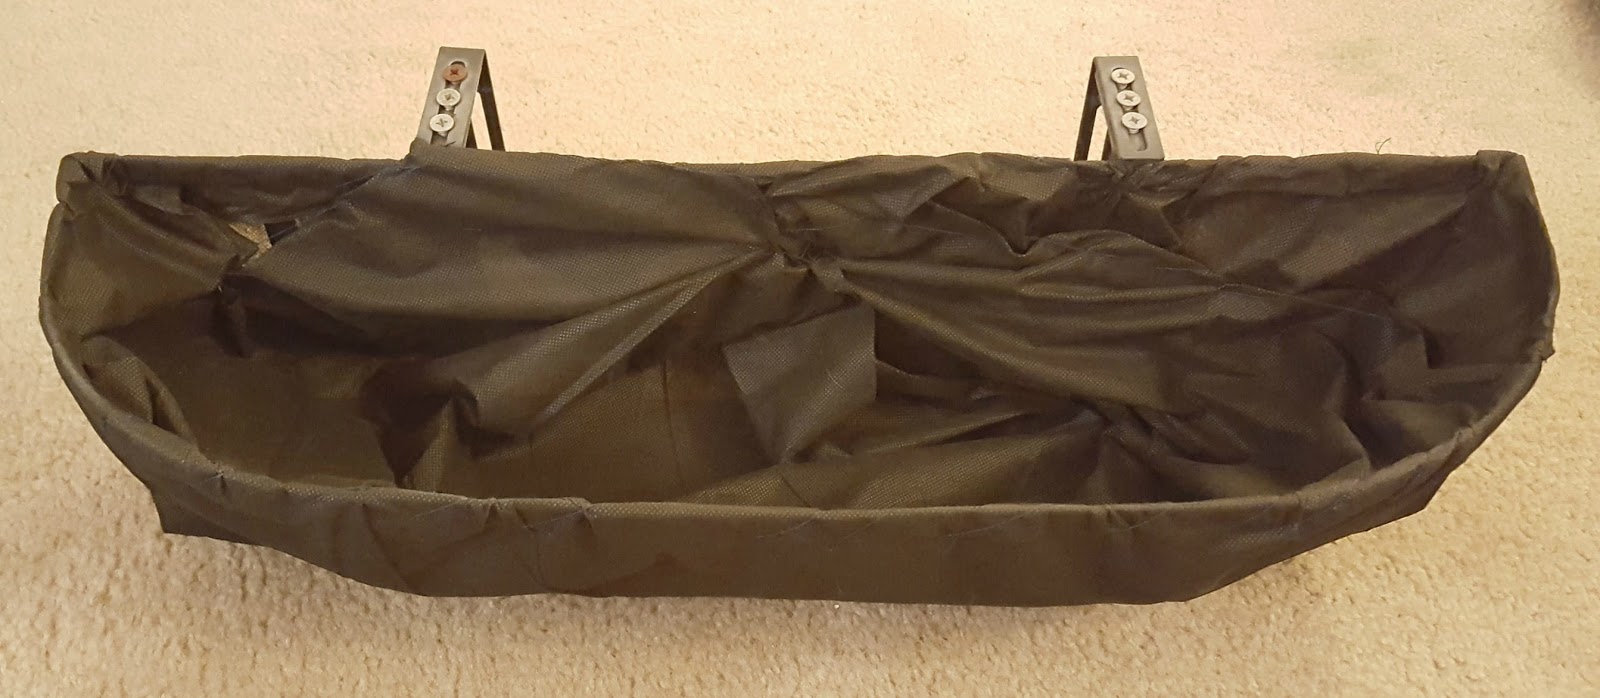
And the inside lining didn't look any better...

But that really didn't matter in the long run,
because all these guys would cover the inside anyway!

After putting the succulents into groups and arranging them in the trough planters,
I removed them from their plastic pots and put them in the soil.

While they looked pretty good as is,
I just knew they were missing something!

After very little though, I realized it was decorative gravel that was missing.
A quick trip to OSH and I came home with a 20 pound bag to finish my DIY project!

Last but not least - I'm happy to report that everything is still living after a few weeks!

This post contains affiliate links meaning I may make a small commission for certain purchases.

Tuesday, January 12, 2016

DIY: Teacup Pin Cushion

For Christmas, I made my grandma a Teacup Pin Cushion.
She loves tea and she is always sewing,
so it seemed pretty fitting that I make this for her.

This DIY project was incredibly easy,
and once I had everything ready to go,
really only took a few minutes to complete!

Take a look at how simple it is!

The Goods:
Teacup
12x12 Square Fabric
Thread
Needle
Hot Glue Gun
Hot Glue
Fabric Scissors

 Add Poly Stuffing to middle of fabric,
enough to fill up teacup plus more to overflow.

 Push needle and thread through gathered fabric one time...

 Making sure there's a knot at the end...

 Then wrap the thread around a few times.
Make sure to pull tight so it's secure.


 Trim off the excess fabric.

 Place dome side up in teacup and hot glue all over to secure.
The more glue the better in my opinion!!!

 Lastly, place some pins in the new pin cushion!!!

Wednesday, August 12, 2015

DIY: Sandie's Quilted Tote Bag

One of my coworkers recently made herself a Quilted Tote Bag.
I liked it when I saw it, but liked it even more after talking to her about it.
Lucky me - she offered to make me my very own!
And just a few short days later, she was handing it to me.

I was very excited about my new tote bag,
and even showed it off to a few other coworkers!
Driving home that night I had a light bulb go off in my head:
ASK SANDIE TO DO A DIY GUEST POST ABOUT THE BAG!!!

Lucky me again - not only was she super awesome and agreed,
but she already had a bunch step by step pictures taken!
So enough outta me - I'll let Sandie take over,
so she can tell you all about the Quilted Tote Bag she made!

Hi I'm Sandie and I've worked with Robyn for years now.
We're always talking about fun little projects we're making
and now I get to share a recent one with you!
Want to see other DIY project I've made? Then head here!

Since the first bag I made was an experiment of sorts, I didn't take photos. 
But, after completing it and finding it smaller than I expected, I decided I wanted to rework it. 
Fortunately, Robyn said she loved it, so that gave me reason to make this amended version. 
Let's get started...


THE GOODS:
(18) 5" x 5" squares (I used a charm pack, but you can cut your own, if preferred)
(1) 8" x 15" piece of fabric for the bottom
(1) 18" x 25" fabric for the lining (this is approximate, you'll need to trim to fit)
(2) 4" x 15 piece of fabric for the handles
(1) 1 1/2 x 5" piece of fabric for the button loop
(1) 17" x 27 piece of batting  - it should be a couple of inches bigger than the outside of your bag. 
(1) Button

BEFORE YOU START SEWING, CUT ALL OF YOUR PIECES,  

SO YOU CAN MOVE THROUGH EACH STEP EASILY. 

FRONT: 
Select 18 squares and organize them into your preferred design.  
You'll use 8 for each side of the bag (4 per row). Once you have the design laid out, start sewing each row together with right sides together and 1/4" seams. You should now have 4 rows. Press your seams with iron, then with right sides together sew 2 rows together, lengthwise. Press your seams and you'll now have 2 panels. 


Attach the bottom, with right sides together sew each panel to each length of of the bottom fabric, and then press your seams. Now let's add the batting. Lay out your batting, then lay your whole front side on it (right side up). Spray baste or pin, smoothing out as you go to eliminate wrinkles.


Now you are ready to quilt. If you are an experienced quilter, quilt away, but if not, you can use the simple method of straight lines, which is what I did. I made one line down the middle and then continued lines at about 3/4" apart (you could also use a zig zag stitch to give your lines some character). Once you have finished quilting trim the edges of your batting. 


Let's make this look more like a bag. Fold the quilted top in half, right sides together and sew side seams (1/4") so that the seams between the bottom piece  and the charms line up. (Pin if needed)

Next we are going to create the bottom of the bag. Pull the sides apart until the sides form a triangle and the seam is centered. Measure 1-1/2" from the corner, draw or pin and then sew straight across. Trim each corner to 1/4" seam. This will make the bottom approximately 3" across. The deeper your triangle, the wider your bottom will be, so make it your own.  

LEAVE YOUR BAG TURNED INSIDE OUT.


We're about half way there, so hang in there! 

LINING:

Fold the lining fabric in half, right sides together and then sew 1/4" seams along each side. Leave a   4" opening on one of the sides so you can turn the bag. Then form the corners the say way you did the front piece.  TURN YOUR LINING RIGHT SIDE OUT.


HANDLE & BUTTON CLOSURE:
Press the handle strips in half lengthwise, right side out. Open, and press the outer edges towards the middle. Fold closed and press. Stitch down the length of the handle about 3 or 4 times. 


NOW IT'S TIME TO ASSEMBLE!!! 
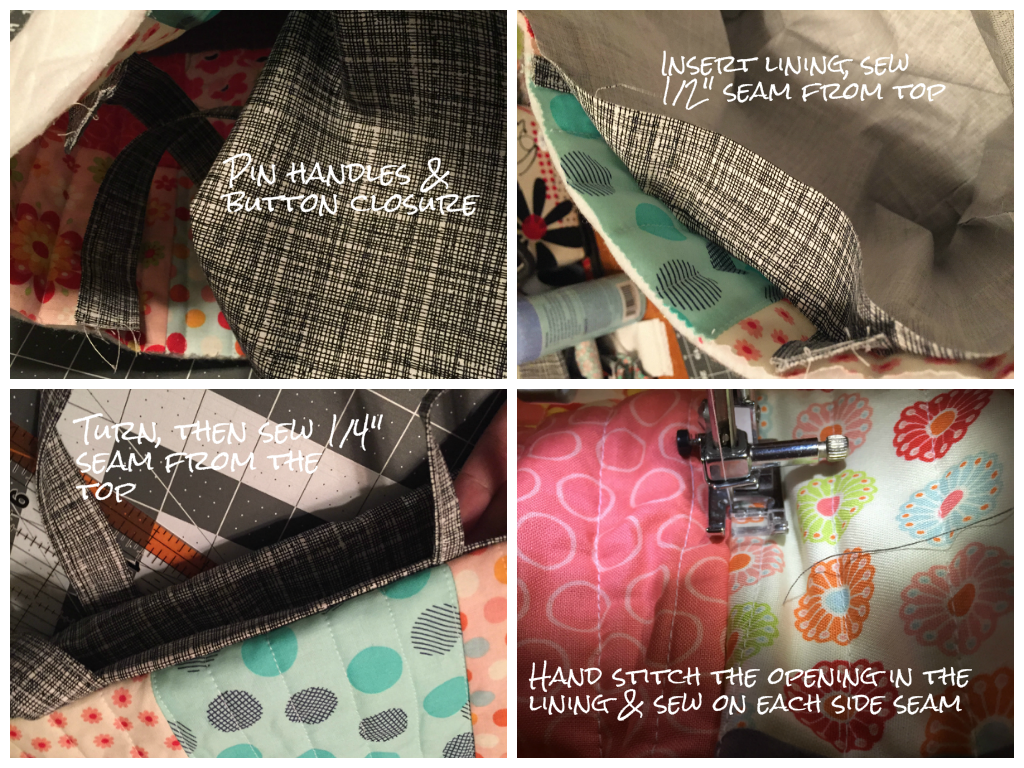
Pin your handles into the quilted piece of the bag. The wider you set your handles the shorter they will be, so make sure you line them up. The handles should sit inside the bag, so that once the bag is turned, they are on the outside. Now do the same with the button closure, making sure to center it.  

 Next you are going to insert the lining into the quilted bag. Since your lining is right side out when you drop it in, the pieces will be right sides together. Pin the lining to the top then stitch around the top about 1/2" down from the top. 


Using the opening in the lining, 
pull your bag through and turn the whole bag right side out. 
YOU'RE ALMOST THERE... 
Tuck the lining down into the bag and then topstitch a 1/4" from the top. 
Now line up your button with the closure and sew it on. 


Technically your bag is now done! HURRAH!! 
But, I added a few finishing touches...

 #1 - After you turn your bag, hand stitch the opening closed. 

This will keep things from sneaking through to the middle of your bag. 

#2 - I added a side stitches to keep the lining from moving around. 
On the outside from the top, I stitched inside of the existing seam 
("stitch in the ditch", is the quilters lingo). 


AND THAT IS THAT!!
 Having learned the process from the first bag, I was able to get this second one done in an evening. 
The final size of the second bag was 9 1/2" x 17". 

Thanks for your time, I hope you find this project as much fun as I did. 


Saturday, October 16, 2010

Homemade Catnip Toys: Take Two!

A couple months ago I attempted to make homemade catnip toys with catnip I'd grown, dried and crumbled.  You can read all about that here

I knew that I'd give homemade catnip toys another go eventually and that time is now! This time I'm taking a different approach though.  

A few weeks ago I noticed my catnip was getting big enough to cut down again, so the catnip toy process was beginning. I chopped it almost completely to the soil and gathered the stocks I'd cut into three bunches then hung them to dry.  


I noticed towards the end of this week that it was dry enough to use, so this afternoon I took the dried stocks outside to crumble.  The leaves easily slid off and I crumbled them once they were in the zipper plastic bag.  

My cats were inside watching me do this and Kahn could not stop crying. At one point, Ming was up on the desk peaking trough the blinds trying to get a better look.

Well they didn't have to wait too much longer to enjoy the goodness because I made the ground catnip into two new toys tonight!  I used fabric from some sleep shorts that I never wear anymore and the ribbon came from them as well! Can't get much more homemade than that.  :)

One catnip toy for each kitty!

Kahn wanted the first of the two even before I was done making it. He was pacing around me and climbing on the back of the couch.  I gave him a tiny piece of crumbled catnip and he instantly went crazy on the coffee table. Uh-oh...what am I in for when he gets the actual toy???

This is what I was in for!!!

He loveeeeeed it and went crazy playing with it for a good 15 minutes.  Ming loved it too, but wasn't as obsessed as his lil striped friend.


Friday, August 6, 2010

Homemade Catnip Toys!


I've had catnip growing on my balcony for months. The caterpillars got to it too, but I didn't spray it because I can't really wash it. When I first used Bt to get rid of the little suckers I decided I'd only use it on things I could wash before consuming.  

After battling with the caterpillars for a few weeks I decided to cut the tall shoots and dry them. I chopped the whole plant down to the soil. There was almost nothing there when I was done. (It's huge again but that's another story!)

I took the tall shoots that I'd cut and hung them in three separate bunches in my guest bathroom.  They hung there for over a month before I decided they were dry enough to be crumbled.  I took the leaves off the stems one afternoon and put them into a baggie. Most of them crumbled easily, but others were still a little too wet.  I left them in the baggie for a few weeks.

This evening I decided it was time to use the catnip that I'd grown, dried and crumbled to make something for my two furry friends!

First, I took stitching out of two places on a Victoria's Secret Pink stuffed dog I got for free and stuffed a little bit of catnip inside.  Minutes earlier I had taken the catnip and wrapped it in a two different coffee filters so it wouldn't go everywhere.


After giving the toy to my cats it was obvious that I couldn't give them just one, so it was time to make something else.  Here's a video just minutes after giving it to them for proof! 

I grabbed an old t-shirt and went to town!  After sewing it up with the catnip in a coffee filter and a tiny bit of stuffing inside, there was still something missing.  It was so - plain. I ended up adding a little fish that I stitched without even drawing it on first. I'm not much of a sewer, so I'm quite proud of myself!