Showing posts with label Green Onions. Show all posts

Sunday, September 25, 2016

Lemongrass Chicken Banh Mi

I consider myself a pretty big foodie and  I love trying new foods!
I am pretty picky so I don't always love everything that I try,
but when one of my best friend introduced me to Bahn Mi sandwiches,
I immediately knew I wanted to recreated it in my own kitchen!

I did what I do quite often and turned to Google in search of a recipe.
I found quite a few ideas, but decided to use this one,
and modify it slightly to make the sandwiches to my liking.
Keep reading to see how I made them!

The Goods:
Serrano Chilis
Jalapenos
Fresh Lemongrass
Green Onions
Coconut Sugar
Tamari
Rice Vinegar
Carrots
English Cucumber
Radishes
Tomatoes*
Spinach*
Limes
Fresh Ginger
Garlic
Chicken Thighs
French Rolls

*Include in your shopping list if wanting to make salad instead of sandwichs

In a blender, add the following:
2 Serrano chilies - thinly sliced
1 lemongrass stalk -smashed and cut into 1/2 inch pieces
2 green onions - thinly sliced
1 teaspoon coconut sugar
6 tablespoons tamari
1 lime - zested
10 inch piece of ginger - peeled and chopped
2 garlic cloves - peeled and smashed

Puree for about a minute until paste like consistency.

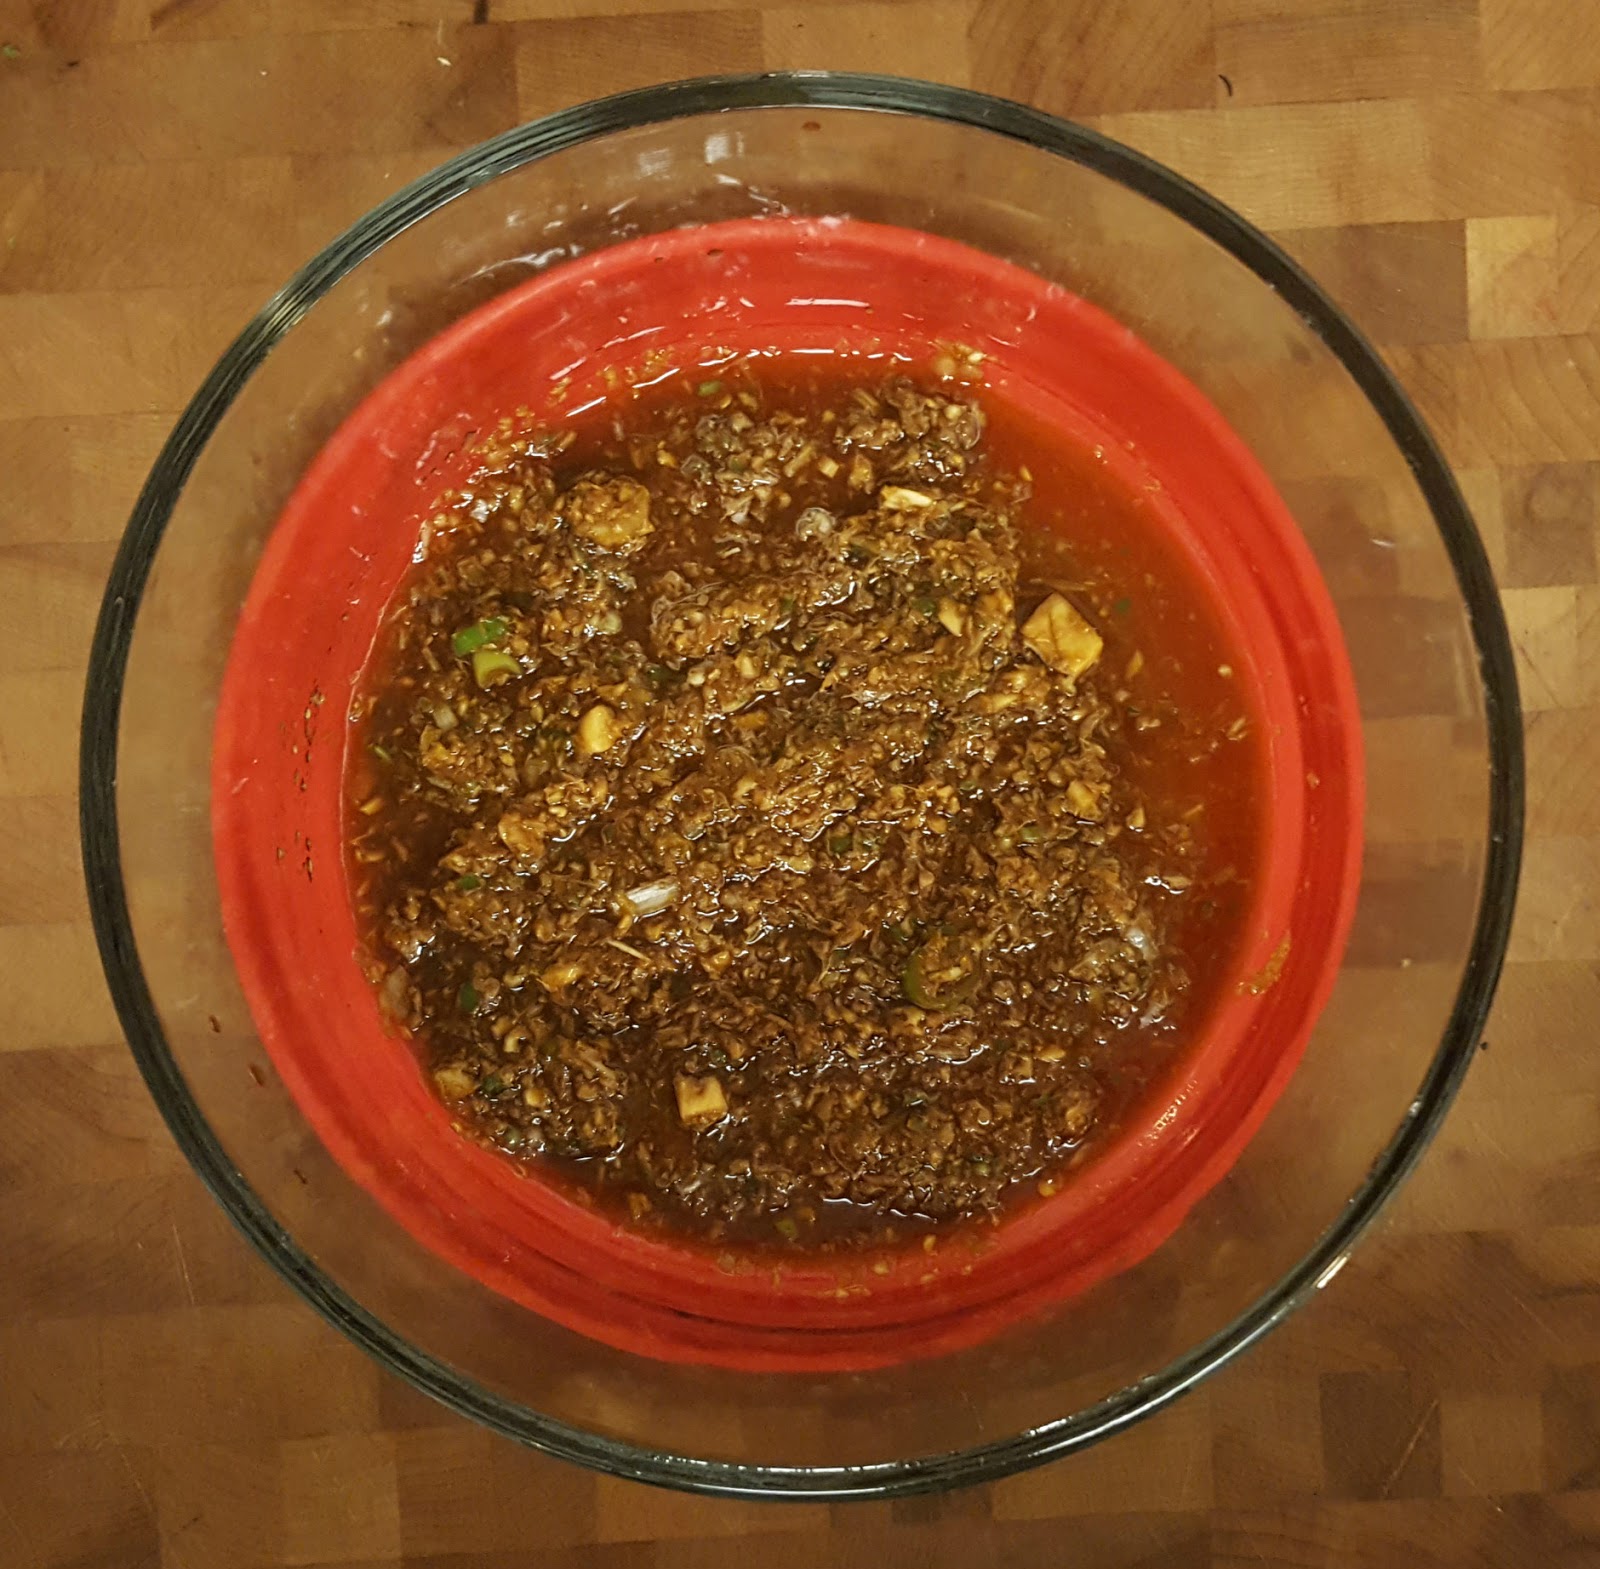
Pour half of the mixture into a large lidded container.

Add your chicken thighs...

And cover with the remaining half of the mixture.

Cover and let marinade for at least 30 minutes,
but can be marinaded for up to 24 hours!

While meat is marinating, make your quick pickled vegetables.

In a medium mixing bowl, whisk together the following:
2 Teaspoons Coconut Sugar, juice from one lime and 3 Teaspoons Rice Vinegar.
Add 2 grated carrots, 1 thinly sliced Serrano chili and 1/3 of an English cucumber.
Mix well and let sit at least 10 minutes, or refrigerate overnight. 

Heat your grill to medium high, wipe off excess marinade and place chicken on hot grill.

Grill each side about 5 to 7 minutes.

Let grilled chicken rest a few minutes...

And then chop it all up into bite sized pieces!

Make sure to grill your french rolls so they're nice and toasty,
and then assemble the sandwich to your liking.

Mmm mmm mmmm!

Looking at this picture, I can just taste the deliciousness of the sandwich!

Lemongrass Chicken Banh Mi Sandwich
Adapted from Goop

3 Serrano Chilis
1 Jalapenos**
1 Stalk Fresh Lemongrass
2 Green Onions
2 Teaspoons Coconut Sugar
6 Tablespoons Tamari
3 Teaspoons Rice Vinegar
2 Carrots Carrots
1/3 English Cucumber
2 Radishes**
3 Limes
10 inch Piece Fresh Ginger
2 Cloves Garlic
1 1/2 Pounds Chicken Thighs
French Rolls

**Used for Sandwich Garnish

  1. In a blender, add 2 Serrano chilies - thinly sliced, 1 lemongrass stalk -smashed and cut into 1/2 inch pieces, 2 green onions - thinly sliced, 1 teaspoon coconut sugar, 6 tablespoons tamari, 1 lime - zested, 10 inch piece of ginger - peeled and chopped and 2 garlic cloves - peeled and smashed. Puree for about a minute until paste like consistency.
  2. Pour half of the mixture into a large lidded container, add the chicken thigh and cover with the remaining half of the mixture. Cover and let marinade for at least 30 minutes, but can be marinaded for up to 24 hours.
  3. While meat is marinating, make your quick pickled vegetables. In a medium mixing bowl, whisk together the following: 2 Teaspoons Coconut Sugar, juice from one lime and 3 Teaspoons Rice Vinegar. Add 2 grated carrots, 1 thinly sliced Serrano chili and 1/3 of an English cucumber. Mix well and let sit at least 10 minutes, or refrigerate overnight. 
  4. Heat your grill to medium high, wipe off excess marinade and place chicken on hot grill. Grill each side about 5 to 7 minutes.
  5. Let grilled chicken rest a few minutes,then chop it all up into bite sized pieces.
  6. Grill the French rolls so they're nice and toasty,and then assemble the sandwich to your liking.

Thursday, June 9, 2016

David's Famous Salsa!

Growing up in Tucson Arizona,
my best friend's dad made some amazing salsa.
I always wondered how he made it,
but he always said there wasn't really a recipe.

Over the years, I wasn't the only one that asked about it,
so somehow a fairly good recipe was put together
and lucky me, I was able to get my hands on it

I was home visiting earlier this year and saw my friend's family.
I hadn't seen her dad in probably 15 years and it was great to catch up.
I asked him permission to share his recipe on my blog,
and since you're reading this, he of course said yes!

So without saying anything more,
let me show you how this yummy salsa is made!

The Goods:
Tomato Sauce
Whole Peeled Tomatoes
Salt
Oregano Leaves
Garlic
Garlic Powder
Green Onions
Cilantro
Dried Chili Tepins
Limes
Red Wine Vinegar

First thing you want to do is get all your ingredients prepped.

Chop up an entire bunch of green onions and set aside.

Mince one to two garlic cloves so you have a full teaspoon.

Chop up one entire bunch of cilantro and set aside.

Slice your limes in half.

In a blender, add ingredients in the following order:
Half the can of whole tomatoes (and juice), 
three quarters of the chopped green onions, 
all of the chopped cilantro, 
juice from the limes, 
red wine vinegar, 
salt, 
a sprinkle of garlic powder, 
minced garlic, 
crushed chili tepins, 
oregano leaves, 
the rest of the whole tomatoes, 
the rest of the green onions 
and last but not least the tomato sauce!!!

Blend well for about a minute. 
And that's it for a batch of David's salsa!

As you can see in the photo above,
this recipe makes quite a bit of salsa!
Knowing that, I've been known to make a batch for myself
and then give a lot of it away to coworkers and friends.

Sometimes I take a little more time and package it up in cute mini mason jars!

David's Famous Salsa
1 (15 oz) Can Tomato Sauce
1 (28 oz) Can Whole Peeled Tomatoes
2 Teaspoons Salt
1/2 Teaspoon Oregano Leaves
1 Teaspoon Garlic, Minced
Sprinkle of Garlic Powder
1 Bunch Green Onions, Chopped
1 Bunch Cilantro, Chopped
1 FULL Teaspoon Dried Chili Tepins, Crushed
3 to 4 Limes
1 Tablespoon Red Wine Vinegar

  1. In a blender, add ingredients in the following order:
    • Half the can of whole tomatoes (and juice)
    • Three quarters of the chopped green onions
    • All of the chopped cilantro
    • Juice from the limes
    • Red wine vinegar
    • Salt
    • Sprinkle of garlic powder
    • Minced garlic
    • Crushed chili tepins
    • Oregano leaves
    • The rest of the can of whole tomatoes
    • The rest of the green onions
    • Last but not least the tomato sauce
  2. Blend well for about a minute. 
  3. Store in airtight jar for about a week or two.  

Sunday, May 15, 2016

Crust Free Mini Quiche!

I love quiche!
I've blogged about quiche more than once.
One can be found here and another can be found here!
I've never blogged about mini quiche or crust free quiche,
but today you're getting to hear about both in one recipe!!!

I had asparagus leftover from another recipe,
and chorizo in my fridge for something else yummy,
so on the whim one day I decided to make quiche.
BUT I didn't want to do a normal sized one.
Nope, I was going to do mini ones and omit the crust!

Let me show you how to make these babies!!

The Goods:
Eggs
Milk
Asparagus
Green Onions
Chorizo
Monterey Jack Cheese

In a large skillet, cook up 6 ounces of chorizo.

And in a large pot cook 1/2 inch pieces of asparagus until tender.

Grease your jumbo muffin pans.

Add a spoonful of the cooked chorizo to each.

And follow up with a spoonful of cooked asparagus in each too.

Scramble your eggs with 1/2 cup of milk.
Season with salt and pepper to your liking.

Pour egg mixture into each muffin pan until you've used it all up.

Top with sliced green onions.

And finally some shredded monterey jack cheese.

Bake at 350 degrees for 20 to 25 minutes - until eggs are fully cooked.

Let cool in the pans for a few minutes.

Then remove and let cool a little on wire rack.

Who am I kidding?
Dig in and devour one as soon as you won't burn your mouth!!!

Asparagus and Chorizo 
Crust Free Mini Quiche

6 Ounces Chorizo
4 Ounces Monterey Jack Cheese - Shredded
12 to 15 Asparagus - Cut into 1/2 Pieces
2 Green Onions - Sliced
1/2 Cup Milk
8 Eggs
Salt and Pepper To Taste

  1. In a large skillet, cook up 6 ounces of chorizo.
  2. And in a large pot cook 1/2 inch pieces of asparagus until tender.
  3. Grease your jumbo muffin pans, add a spoonful of cooked chorizo and a spoonful of cooked asparagus.
  4. Scramble your eggs with 1/2 cup of milk. Season with salt and pepper to your liking.
  5. Pour egg mixture into each muffin pan until you've used it all up.
  6. Top with sliced green onions and shredded monterey jack cheese.
  7. Bake at 350 degrees for 20 to 25 minutes - until eggs are fully cooked.
  8. Let cool in pan for a few minutes, then remove to wire rack.

Sunday, November 29, 2015

Buffalo Chicken Baked Tacos

In that post, I shared three different ways to enjoy it,
and I've done so many time since.

Recently I ran across a recipe for Baked Tacos that sounded great!
I knew almost immediately that I wanted to make some,
but that I'd incorporate the Crock Pot Buffalo Chicken too!

Not only did I previously give you three ways to use the chicken,
but today I'm sharing yet another delicious way,
so you now have FOUR different options!!!

The Goods:
Taco Shells
Shredded Cabbage
Avocado
Green Onion
Bleu Cheese
Ranch Dressing
Franks Red Hot

You can buy your taco shells...

OR you can make your own!

They're actually quite simple.
Preheat your oven to 375 degrees.
Microwave corn tortillas for about 10 seconds to soften.
Drape the tortillas over two bars of your oven rack.
And back for 5 to 10 minutes - until nice and crisp!

The baked shells are SO much better for you because they aren't fried in oil.

Stuff your tacos to your liking and pop them in the oven.
Bake at 425 degrees for about 10 minutes.

Add fresh avocado, a little ranch dressing and a dash of Franks.
Then devour them while attempting not to burn your mouth!

Sunday, August 10, 2014

Tortellini Pasta Salad

I'm always on the lookout for easy, yet delicious lunches.
Especially ones I can make a big batch of and eat throughout the week.
So when I ran across this recipe, I KNEW I'd be making it soon!
And as usual, I'd be modifying it just a tad.

I've always loved a good pasta salad,
but I honestly never thought to use tortellini!
And boy, was I glad I tried it.
It is so so SO good!!!

And the best part?
It's incredibly easy to make too!
Just take a look below at how easy it really is.

The Goods:
1 Family Size Cheese Tortellini Pasta
1/2 Cup Italian Dressing - store bought or homemade
About 1 Cup Turkey Pepperoni, cut into quarters
1 Green Bell Pepper, chopped
1 Pint Cherry or Grape Tomatoes
1/2 Cup or so Black Olives, halved
1/2 Cup or so Green Olives, halved
3/4 Cup Freshly Grated Parmesan Cheese
Salt and Pepper to taste

Cook your pasta, drain and set aside to cool.
Chop your bell pepper, olives and pepperoni.
Grate your Parmesan Cheese.
Combine EVERYTHING in one big bowl.
Mix, taste and adjust salt, pepper and dressing if needed.

And now...
DIG IN!!!

I will 100% be making this for lunches again soon!

Sunday, May 18, 2014

Craisin Green Bean Quinoa Salad!

Wow! That title is a mouthful.
I'm sorry, but I couldn't think of a better way 
to describe this delicious salad in fewer words.

You may or may not have figured out that I really like quinoa.
I usual use it to make tasty salads for lunches throughout the week.
You can read about one here and another here!

After eating both of those above salads many times, 
I wanted to branch out and try a NEW quinoa salad!

A local lunch place makes one with craisins and green beens. 
It is so simple and tasty, so I was looking for a recipe similar to that.
I couldn't find one exactly like I wanted, so I just sorta made up my own!


Craisin Green Bean Quinoa Salad 

1 cup quinoa
2 cups water
½ teaspoon salt or to taste
¾ cup craisins
1 cup green beans
¼ cup sliced almond
¼ cup sliced green onion
¼ cup balsamic vinegar
1 ½ tablespoons olive oil
1-2 cloves of garlic, minced
Salt and Pepper

1. Rinse the quinoa in several changes of water. Combine the 2 cups water and ½ teaspoon salt in a medium saucepan and bring to a boil over high heat. Reduce heat to simmer, cover, and continue cooking until all water is absorbed, about 20 minutes. Remove from the heat, uncover, and allow to cool for 15 minutes. 


2. In a medium bowl, combine the cooked quinoa, craisins, green beans, almonds,
and green onion until well mixed. 


3. In a small bowl, whisk the balsamic vinegar, olive oil, and garlic until well blended. Pour over the quinoa mixture. Toss until well blended. 


4. Season with salt and pepper to taste. Chill in the refrigerator for at least 30 minutes before serving. 

Saturday, April 26, 2014

Asian Quinoa Salad

For awhile, I have been making a Grain Greek Salad for lunches on a pretty regular basis.
Not too long ago, I decided I wanted to look for other grain salads.
I specifically set out to find quinoa recipes and quickly found one I knew I wanted to try!
Asian Quinoa Salad sounded great and I couldn't wait to make it!

The Goods:
Quinoa
Sesame Oil
Soy Sauce
Rice Vinegar
Sesame Seeds
Crushed Red Peppers
Cilantro
Ginger
Cabbage
Red Bell Pepper
Cucumber
Shredded Carrots
Edamame

Make the dressing, chop the veggies and cook the quinoa.
Then combine in one bowl and mix it all together.
Refrigerate at least a few hours before serving.

I made this salad for lunches one week,
and it was SO good that I decided I needed to blog about it.
So I made it for a second week in a row in order to document the process.

It's so simple and so tasty!
I can't wait to make it again to be honest.


Sunday, March 16, 2014

Homemade Soup: Taco Soup

I saw this soup recipe on a blog I read and it sounded amazing!
I couldn't wait to make it and give it a try.
I did so not too long after spotting the recipe.

And I haven't blogged about a homemade soup in awhile,
so I thought it was time I shared another yummy soup on my blog.

This recipe is so easy to make and gives you quite a few servings. 
I made enough to eat for a few meals and then freeze some for later.
(Note: I've found that it's easier to freeze soup in individual servings.)

Take a look below at the process and then give it a try.
I'm pretty sure you'll like the outcome - I sure did!

The Goods:
 Ground Turkey (or Beef)
Taco Seasoning - Packet or Homemade
Onion
Bell Pepper
Black Beans
Kidney Beans
Pinto Beans
Corn
Rotel Tomatoes
Diced Tomatoes
Ranch Packet

Brown the meat, add the onions and bell pepper and sauté.
Add remaining ingredients and stir to combine.

Simmer at least 30 minutes - if not longer.

Garnish with Sour Cream, Cheese and Green Onions!

Dig in and ENJOY!!!!