Sunday, April 8, 2012

Easter Cake Balls

I've made cake balls before - I've made them multiple times in fact. I made them BEFORE Cake Pops were the "in" thing. But I hadn't made them for awhile. That is until last weekend!!!

I hadn't taken any baked goodies in for my co-workers to enjoy in quite some time, so I decided it was time to make cake balls and take them into work!

I know I've blogged about making Cake Balls in the past, but I wasn't as detailed so it's time to revisit them and take a look at the Step-By-Step process. :)


The Goods:
Funfetti Cake Mix and Frosting
Vegetable Oil
Water
3 Eggs

Grease 2 Round Cake Pans and set aside.
Preheat oven according to cake box.

Pour the Cake Mix contents into the mixing bowl.

Add the water.

And the vegetable oil.
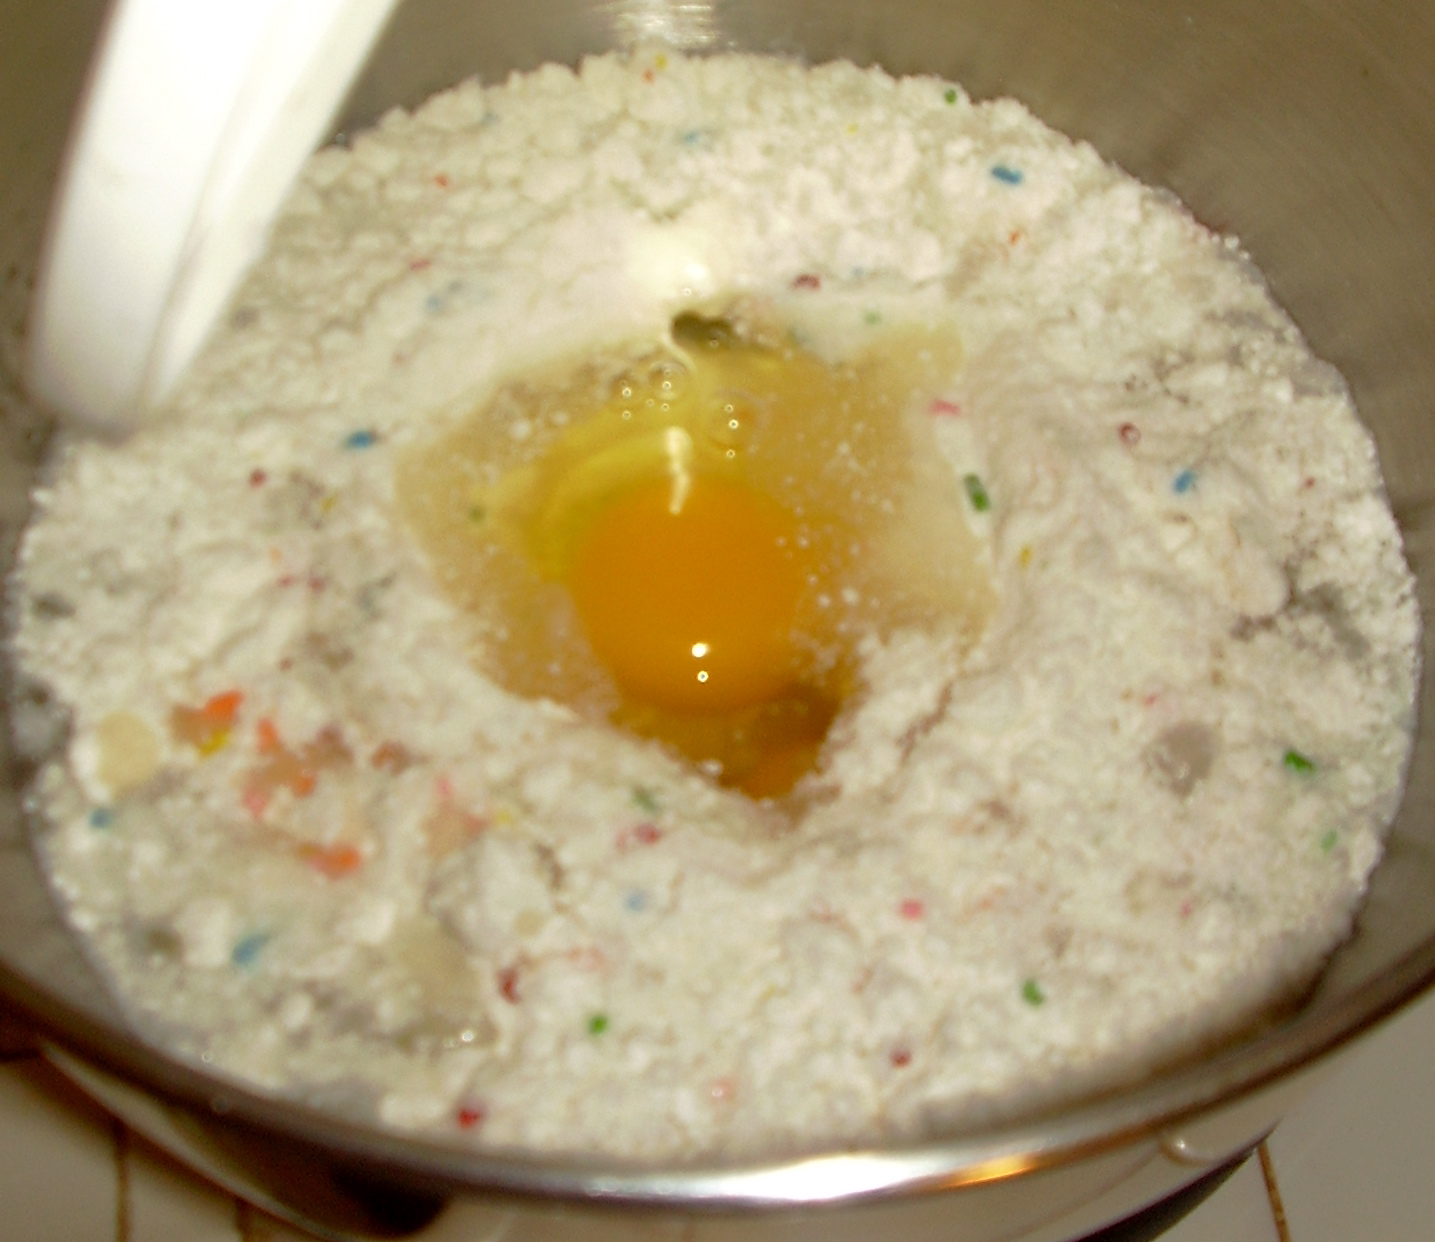
And lastly, the eggs!

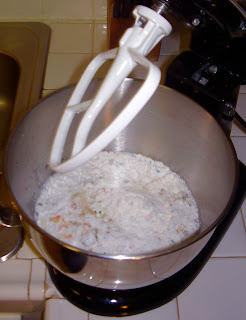
Now mix it all up!

YUM!

I LOOOOOOOOVE batter...

and cookie dough...

but these contain raw egg so technically that's a NO NO.

Don't be like me!

:)

Back to the cake balls!!!!

Pour cake batter into pans and bake according to box directions.

And DONE!

Now it's time to ruin the perfectly good cakes!


Cut each cake in a criss-cross pattern.


Put the cake cubes into a clean mixing bowl.

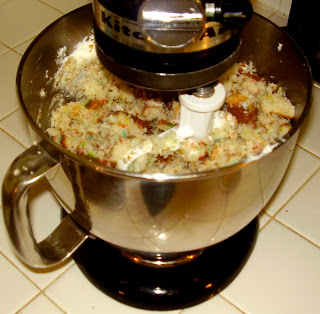
And mix it until it's all crumbled up!

Now add the frosting.

And mix THAT in too! 

Cover and let the mixture sit in the fridge AT LEAST 4 hours.
I actually let it sit over night - well over 12 hours sometimes.

Now - using a melon baller, scoop out portions of the cake/frosting mixture.
Once they're all scooped out, roll them into cake balls. :)

Put the trays into the freezer for an hour or so.

Before removing from the freezer for the last step...

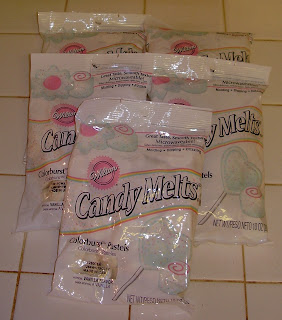
Get out some confetti Candy Melts!

And melt them in the microwave.
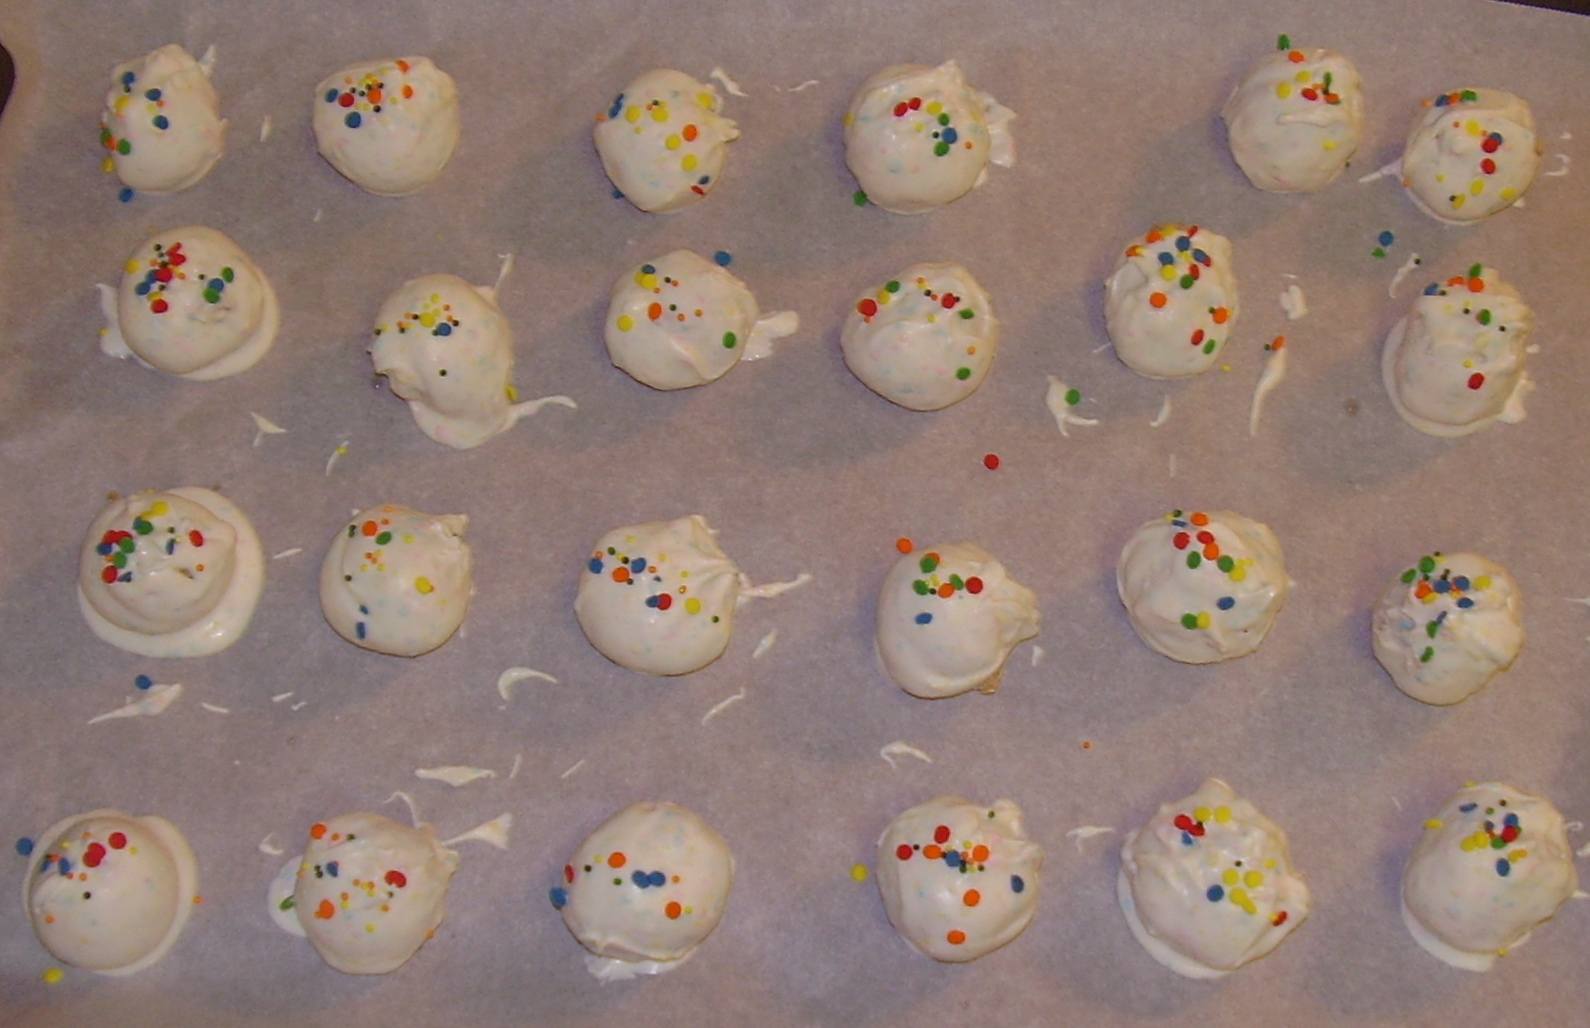
Cover each cake ball and add little sprinkles on top.


Give them to your friends.

Take them to work.

Feed them to your family.

Eat them all yourself.

The choice is up to you!


And because these were EASTER Cake Balls,
here's the cute little packaging I gave a few friends/neighbors.

Happy Easter! 

Monday, March 26, 2012

Broiled Garlic Herb Salmon

Recently I've been talking a lot about trying to add more fish into my diet, so I decided to not only post about it again, but to show you one of the ways I enjoy making salmon.

But before we get to the fish, let me show you how to make your own garlic herb butter.

Get your chopper out...

And chop up 2-3 cloves garlic.

Now add some fresh parsley and chop.

And finally a little dill and chop.

Put the garlic herb mixture into a bowl and add some butter. 

Mix it alllllllll up!

And finally, make it into cute little butter balls!

Now onto the salmon making...

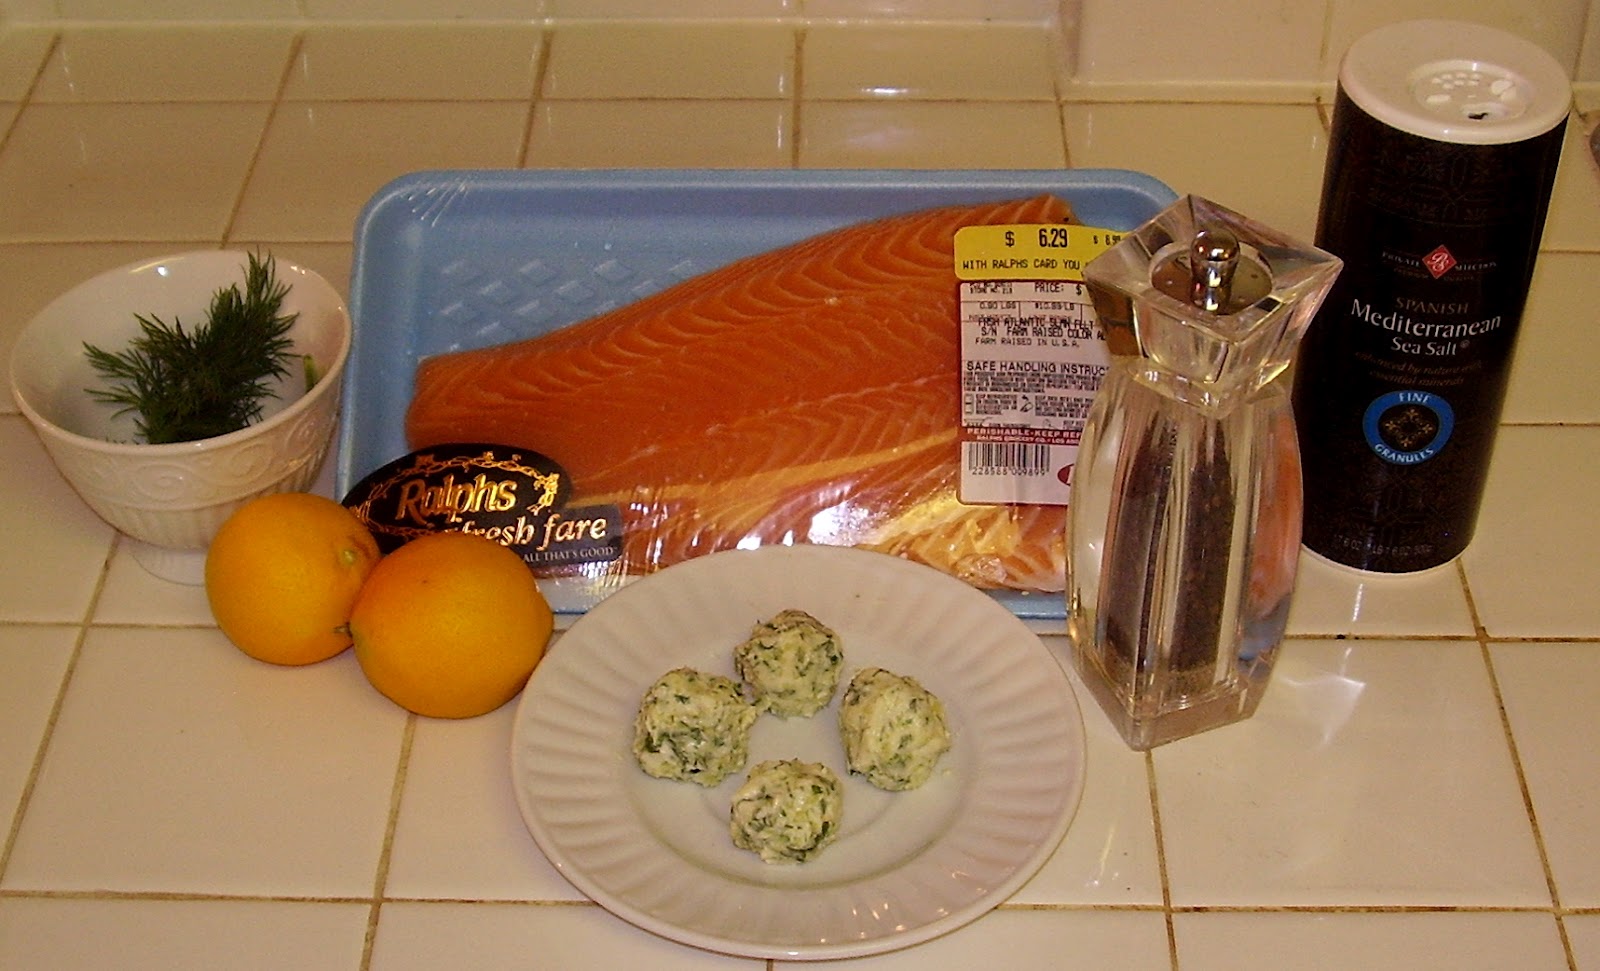
The Goods:
Salmon, Dill, Lemons, Homemade Garlic Herb Butter Balls, Salt and Pepper


Some people leave the skin on one side of the fish, but I choose to remove it before cooking. I've done it both ways, but prefer without any skin. I feel it's less "fishy" this way! Haha.


Remove the skin if you want.
Or leave it on.
It's up to you!


Line a baking sheet with foil and then put a cooling rack on top.
Preheat oven to Broil.

Place salmon on top of cooling rack.
Salt and Pepper salmon. 
On top of salmon, put one butter ball and a sprig of dill.
Squeeze lemon over everything.

Broil for 7 minutes, flip and boil 7 more minutes or until done.
If you're a rebel - add more butter and dill after the flip!

YUM!
Perfectly done.

I served this with a long grain wild rice mixture and my Garlic Brussel Sprouts.


Sunday, March 25, 2012

Chocolate Chip and Bunny Mix M&M Cookies!

WOWZA! The title of this post really is a mouthful. I'm sorry folks, but I don't really know how to simplify the deliciousness of these cookies. They're  chocolaty, they're chewy, they're a little salty and they're simply AMAZING!

The cookies start out like pretty much any Chocolate Chip cookie. 


I was going to just use Bunny Mix M&M's that I bought today, but then...

What's this?!??


I decided to throw in some leftover Milk Chocolate Chips I had in my pantry because I'm a rebel like that. And I thought it'd make something already tasty even more tasty. Mmm mm mm!

2 Sticks Butter

Mix the butter...

Until it's creamy.

Add 3/4 Cup Brown Sugar

And 3/4 Cup White Sugar

Mix the butter and sugars until they're incorporated. 

Add one egg.

And mix.

Add a second egg.

And mix that too!

Scrape the sides down and clean out the beater mostly.

Add the dry ingredients.

Yup - those.
(Those = 2 1/4 Cups Flour, 1 tsp Baking Soda, 1 tsp Salt)

Oh wait - can't forget the 1 tsp Vanilla.
Duh ROBYN!

Miiiiiix mix mix.

Until it looks like THIS!

Add the Bunny Mix M&M's!

And mix those babies in!

Now time for the Chocolate Chips!

Taaaa-da!
The dough is done!!!

Now drop the cookies in small balls onto a baking sheet.

And bake for about 7 minutes, until the edges are golden brown.

Cool slightly and enjoy warm. 

Store in an airtight container or even freeze them in baggies to eat later.


Ga-ga-ga-growing!

While my garden isn't what it has been in the past, I'm very proud of the progress none-the-less. I haven't had to do much which is nice because I've been VERY busy! I do plan on adding to what I currently have growing, and will update you as I do so. Until then, let me show you what's happened since my last post.  

The Snap Peas continue to grow and have tons of little tendrils now. I can't wait to see if they do what I want and grow up the little wire screening I have directly behind them. We shall see.


My herbs and Jalapeno are doing alright. I used a bunch of Parsley recently so that's why it looks a little bare. The sage is growing like crazy and really starting to spread out. I haven't noticed anything to exciting about the jalapeno plant, but I'm just hoping that it does as well as my pepper plants did the last two years.


The cat grass is getting even more full and my two furry friends are LOVING it. I get home from work every night and they run in there meowing until I let them out for an evening munch in the grass.


And my lime tree... I have TONS of blossoms, but still only TWO limes this round! :( What gives?!!? I guess it is a young tree and I should be happy I'm getting anything! I just don't like that I'm teased with tons of blossoms and get so little fruit. Here's hoping that I get many more limes in years to come. And how about a few more soon too? :)


Baby Lime, Baby Lime, Baby Baby Lime

Lots of Blossoms

Lastly, because I can and because I want to share - a look at a little corner of my balcony garden. I love this area and I love it even more that I'm able to see it from my bedroom.