
Oh hello there Monday!!!
While thinking about what type of baked donut to make for February,
I'm back again for another Baked Donut Monday post
and today I'm going to tell you about some super tasty
STRAWBERRY BAKED DONUTS!!!
I was just a little bit stumped because I'd already made Red Velvet ones.
So of course I turned to Google and found this recipe that sounded amazing.
And pink donuts for Valentine's day would be just perfect!

The Goods:
Unsalted Butter
All-Purpose Flour
Sugar
Baking Soda
Salt
Milk
Vinegar
Vegetable Oil
Vanilla Extract
Eggs
Fresh Strawberries
Powdered Sugar
Freeze Dried Strawberries

Crush up your freeze dried strawberries with a hard object.
I used a hammer, but a rolling pin would work too!
Make your homemade buttermilk and set aside.

flour, sugar, baking soda and salt.
Create a well in the center and set aside.

homemade buttermilk, vegetable oil, vanilla and eggs.


Transfer donut batter to a large zipper bag.
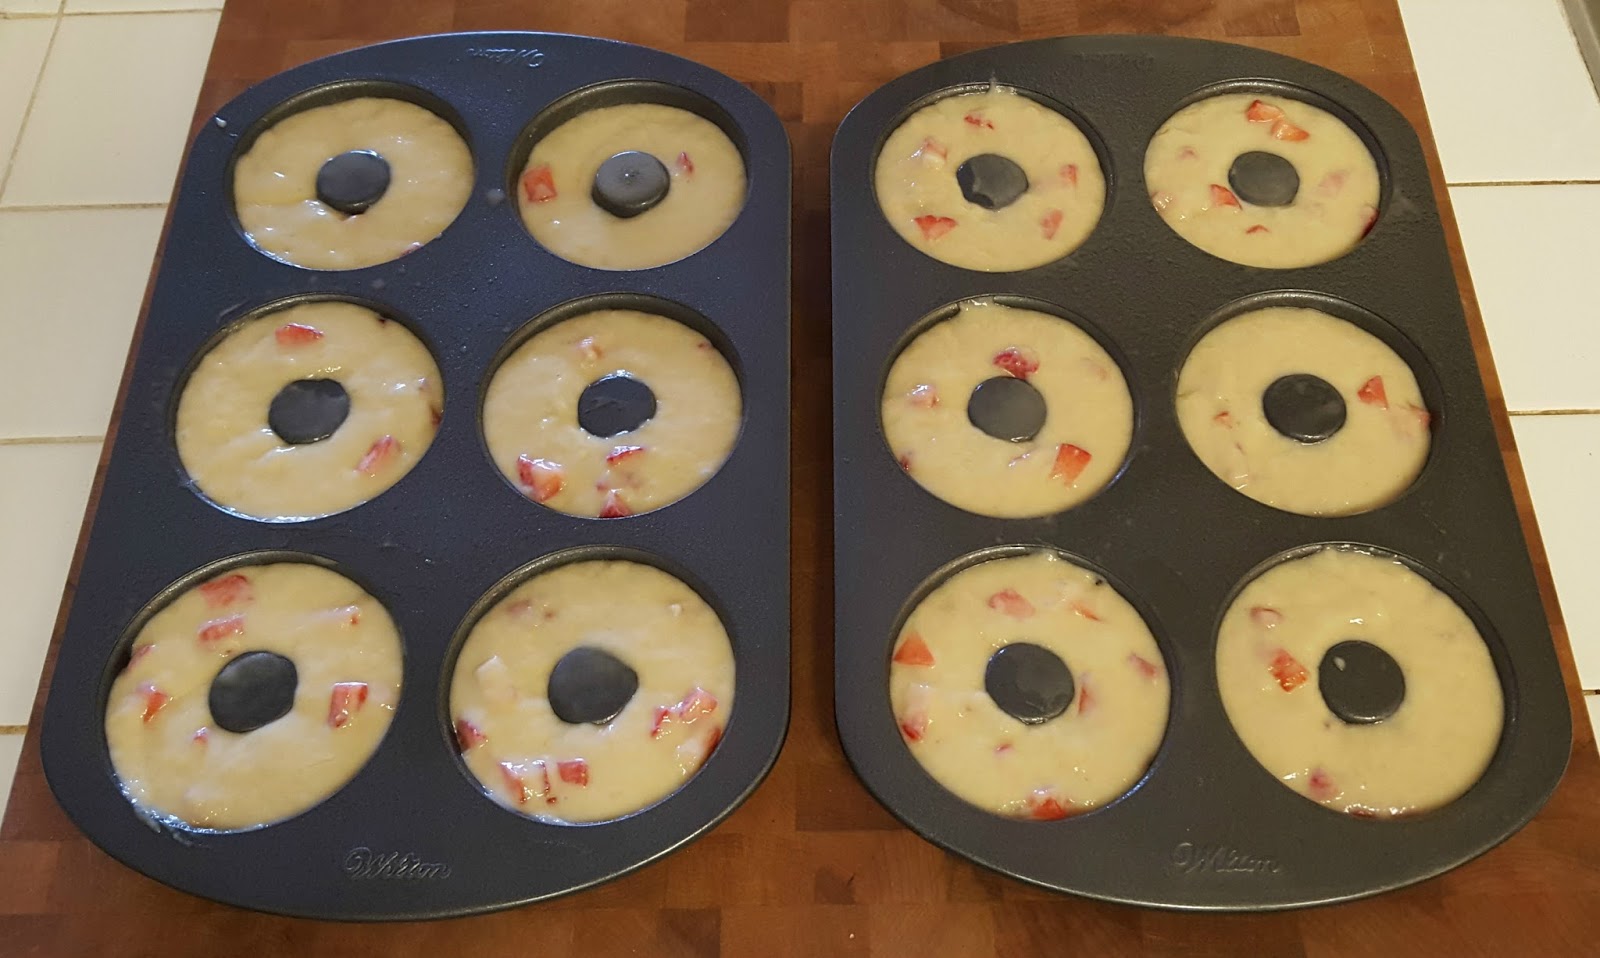
Cut off the end of the zipper bag
and fill your donut pan until 1/2 to 3/4 full.

Bake at 375 degrees for 10 to 12 minutes,
until toothpick comes out clean when inserted.
Cool in pans for a few minutes.


Mix and let sit for one minute, then add remaining powdered sugar
and the crushed freeze dried strawberries, them mix again.
I found my glaze wasn't getting to the right consistancy,
so even though the original recipe says not to thin it,
I added 1 Tablespoon of milk and it worked perfectly!


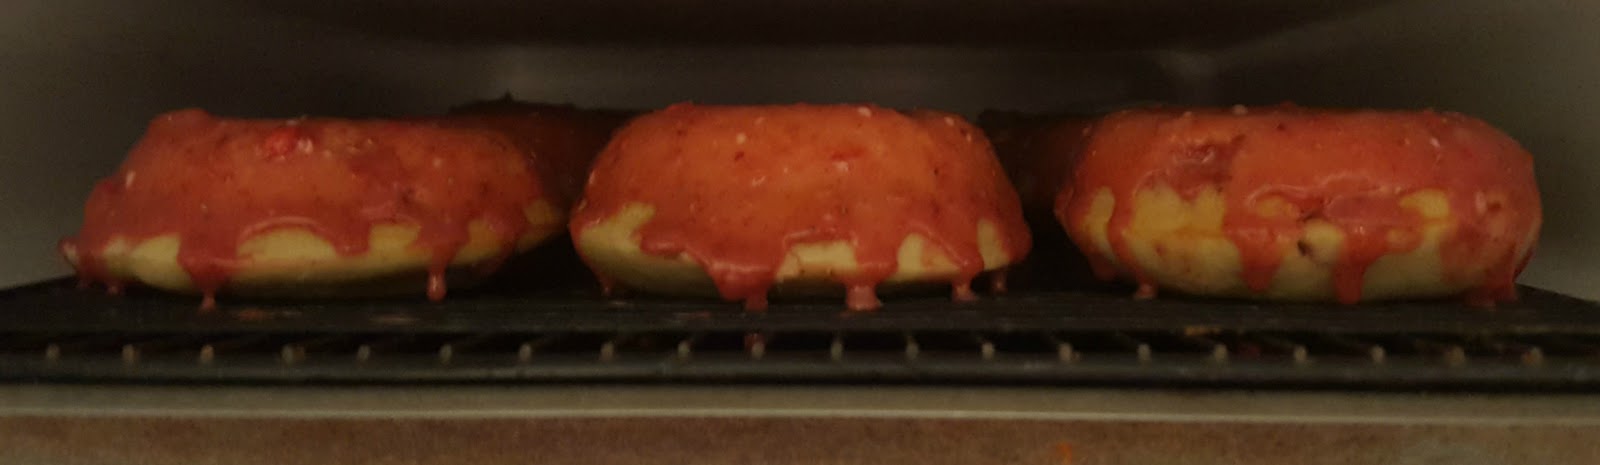
This will allow your glaze to set up in a short amount of time.


Strawberry Buttermilk Baked Donuts
Adapted from Cooking Classy
2 Tablespoons Unsalted Butter
2 Cups All-Purpose Flour
1/2 Cup Sugar
1/2 Teaspoon Baking Soda
1/2 Teaspoon Salt
3/4 Cup Homemade Buttermilk
1/4 Cup + 2 Teaspoons Vegetable Oil
1 Teaspoon Vanilla Extract
2 Eggs
2/3 + 1/2 Cups Strawberries, Chopped
3 Cups Powdered Sugar
1/2 Cup Freeze Dried Strawberries, Chopped
- Crush up your freeze dried strawberries with a hard object. I used a hammer, but a rolling pin would work too!
- Make your homemade buttermilk and set aside.
- In a large bowl, combine the flour, sugar, baking soda and salt.Create a well in the center and set aside.
- In large measuring cup, combine homemade buttermilk, vegetable oil, vanilla and eggs.
- Pour the wet mixture into the well of the dry mixture and mix until combined.
- Fold in 2/3 cup chopped strawberries.
- Transfer donut batter to a large zipper bag. Cut off the end of the zipper bag and fill your donut pan until 1/2 to 3/4 full.
- Bake at 3375 degrees for 10 to 12 minutes, until toothpick comes out clean when inserted.
- Cool in pans for a few minutes, then remove from pans and finish cooling on a wire rack.
- Add 1/2 Cup strawberries and half of your powdered sugar to a large bowl. Mix and let sit for one minute.
- Add remaining powdered sugar and the crushed freeze dried strawberries, then mix again. If your glaze isn't thin enough, add 1 tablespoon of milk and stir to combine.
- Take a cooled donut and dip one side into glaze. Place glaze side up on wire rack, letting glaze drip down the sides. Continue until all donuts are dipped.
- Put the tray into the freezer for five minutes, allowing the glaze to set up in a short amount of time.
- Now dig in and enjoy!!!


