Showing posts with label How To. Show all posts

Monday, August 22, 2016

How To: Cauliflower Rice

I'd heard a lot of great things about Cauliflower Rice,
but hadn't given it a try until this summer.
It intrigued me, but something was holding me back.

In an attempt to eat even healthier than I already do,
I decided to whip up a batch one night.
A quick Google search led me to these instructions.

Turns out, Cauliflower Rice is really easy to make!
After making it a few times for myself, 
I decided to show you all how to make some for yourself.

The Goods:
Cauliflower
Food Processor

Remove the leaves and stem from your cauliflower
and then cut into quarters with a sharp knife.

Remove as much of the core as possible, reserving all the florets.

Put the cauliflower florets into the food processor
and simply pulse until you have a rice-like texture.

My food processor isn't huge, so I have to do it in two batches.

Once you have your cauliflower rice made,
simply saute and season it like you would regular rice.

Friday, July 15, 2016

How To: Homemade Green Juice Take 2!

In March I showed you how to make green juice with just a blender,
but since then I've acquired a pretty awesome juicer,
so today I'm going to show you how I make green juice with that!

While this method is a quicker process for making juice,
you don't really have the option of keeping the fiber in.
And you probably don't want to eat the pulp - but could compost it.

Now let's get to the juice making...

The Goods:
Kale
Spinach
Romaine
Apples
Lemons
Limes
Kiwi
Ginger

Get all your ingredients prepped before to make the process quicker.

My awesome Breville Juice Fountain set up and ready to go!

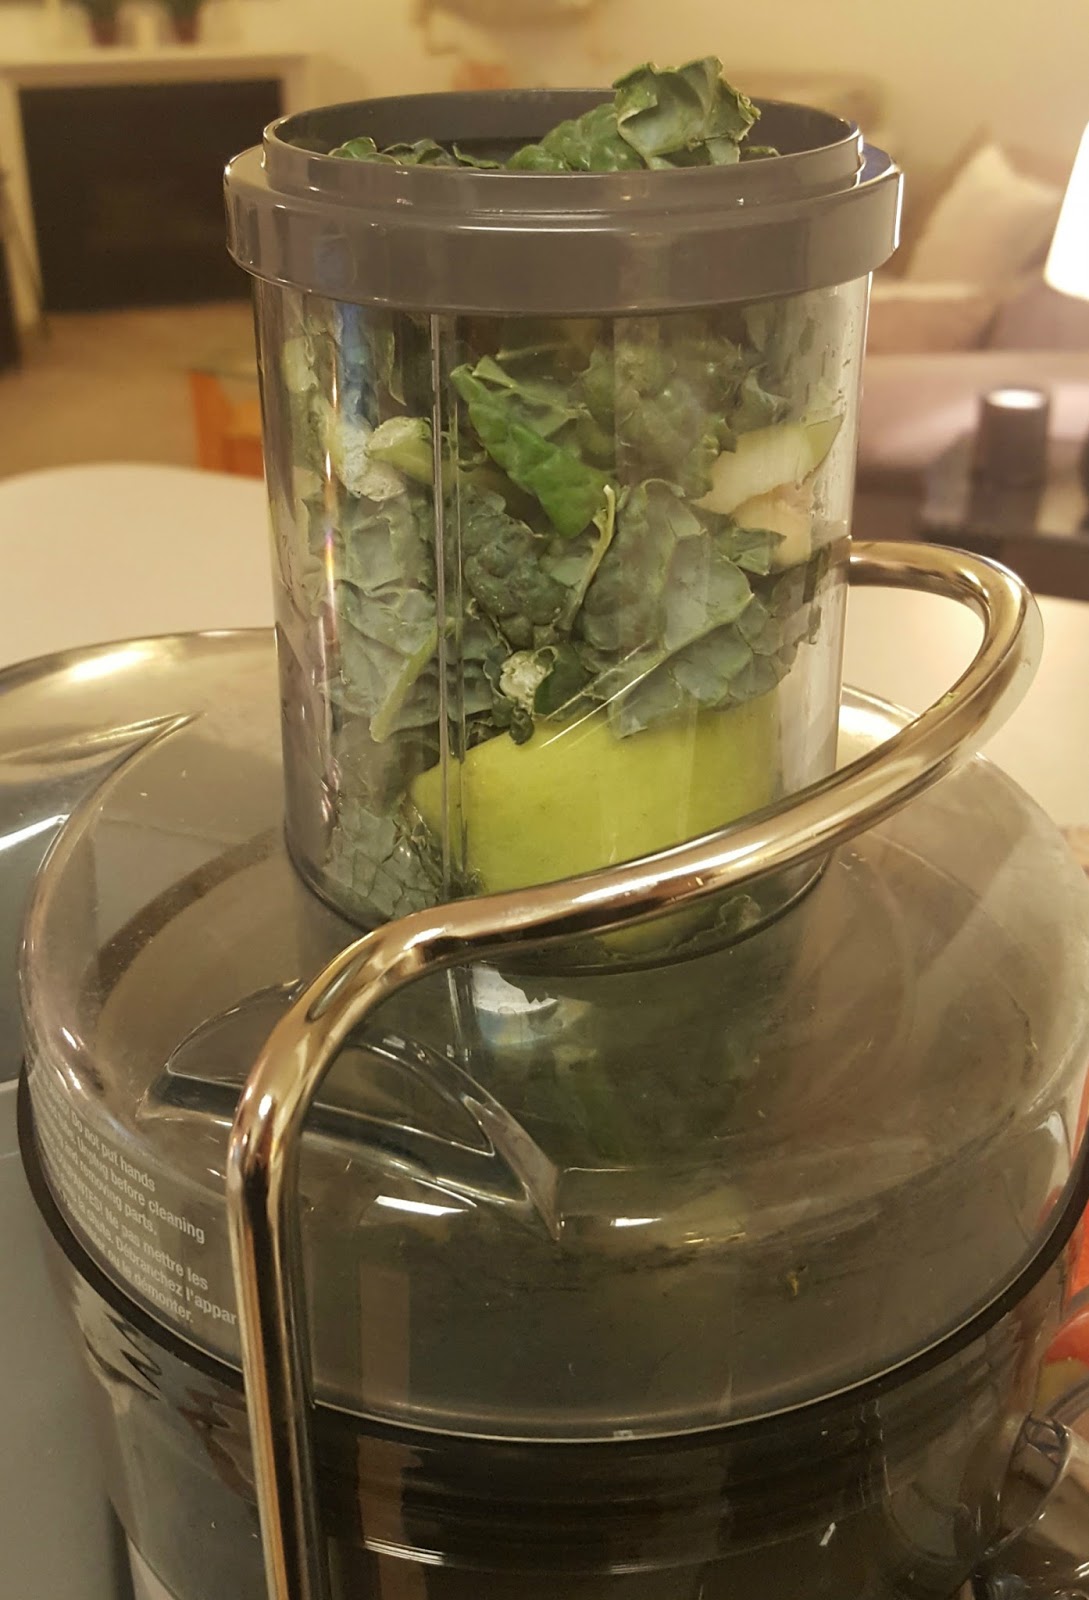
If you want to get the most out of your greens,
you have to layer your fruit and greens alternatively.

Once filled to the top, press down with the food pusher...

And watch your juice fill up the pitcher!

Keep filling up and juice the fruit...


Until your pitcher is full
(or all your fruit is juiced).

Mmmmmmmmmmmm foamy, delicious green juice!

Pour into a glass, add a cute paper straw and enjoy!!!

This post contains affiliate links meaning I may get a paid for certain purchases.

Thursday, March 10, 2016

How To: Homemade Green Juice

I'm a BIG fan of green juices,
but I'm not a fan of paying 7+ dollars for one.
Yes, I do so from time to time because it's easy,
but it's just as easy to make one at home if you plan ahead!

And since it's so easy, I figured I'd show you how to do it yourself today!

I've used both a blender and a juicer to make green juice,
but today I'm showing you how to use your blender.
You can use whatever fruits and vegetables you'd like,
but below is one of my FAVORITE green juices to date!

The Goods:
Kale
Romaine
Parsley
Green Apple
Pear
Kiwi
Ginger
Orange
Lemon
Lime

Squeeze your citrus juices, then add all the other ingredients to the blender.
I use the liquefy setting on my blender, because I want it as smooth as possible.
You can add a little water or some ice to thin it out if needed.

Once blended, you can either drink as is and get a TON of fiber...

Or you can use a fine mesh strainer to separate the liquid from the pulp.

I just use a rubber spatula to help push the juices through.

And you're left with a delicious and refreshing glass of green juice!

And of course a TON of fiber that you can toss or use in a compost!

That's it folks!
Super easy.
Super yummy.
Super good for ya!

Sunday, January 24, 2016

How To: Homemade Balsamic Glaze

I love Balsamic Glaze, but I hadn't made my own until recently.
You can easily buy it in the store, but it's so easy to make your own too.
And because I like to know exactly what's in what I'm eating,
I tend to stick to making things myself whenever I can.

About halfway through making the glaze the first time,
I realized - Hey I should blog about this too!
So not too long after making the first batch, 
I made another to show you guys how easy it really is!

WARNING - while making this you're kitchen,
or entire apartment in my case will have a strong vinegar smell.
It's worth it though, I promise! 

The Goods:
Balsamic Vinegar
Brown Sugar

Add 1/2 Cup Brown Sugar and 
2 Cups Balsamic Vinegar to a saucepan.

Turn heat to medium.

And mix until sugar is dissolved.

Bring mixture to a boil.

Then reduced heat to low and simmer for about 20 to 30 minutes.

Until mixture has reduced by half and has slightly thickened.
It should coat the spoon when dipped into the pan.

Pour into a jar and let cool completely.
Cover and store in the fridge for up to two weeks!

Friday, October 23, 2015

How To: French Press Cold Brew Coffee

I love coffee and over the years I've found ways I like it best.
I've known about cold brew coffee for awhile now,
but hadn't tried it until just a few months ago.
And OH MY GOSH - it quickly became my favorite way to drink coffee.

Since I'm a fan of iced coffee (sometimes even in the cold!)
this way of making the coffee was a no brainer for me.
I loved that I didn't need to add much milk because it was less acidic,
but I didn't love the price I was paying (too often) at a well known coffee chain.

So...what'd I do about that lil conundrum?
I went to Google and learned to make my own!
I found this recipe on The Kitchn and tried it not too long after.
And I've made it countless times since because it's that good!

Let me show you how you can make your own.

The Goods:
French Press
Coffee Beans
Cold Water

Start by grinding your coffee beans.
I always do a double batch, so this is 2/3 Cup.

If I'm making hot or cold brew coffee in the French Press,
I always use the coarse setting on my coffee grinder.

Put your ground coffee at the bottom of your french press.

Next add your cold water.
Since I do a double batch, this is 3 Cups of water.

Stir so the water and grinds combine...

And then finally add the lid. 
with the press in the upright position.

Let coffee brew in the refrigerator overnight, 
and press the next day when you're ready for your morning coffee.

And that is how simple it really is to make! 
The original recipe calls for 1/3 Cup Coffee Beans
and 1 1/2 Cups water, but I double the batch and haven't had a problem.
It's still quite strong, but I just don't have to make it as often.

Tuesday, September 22, 2015

How To: Hard Boil Eggs

One of my coworkers asked me how to make hard boiled eggs recently.
After explaining how I made them, I had a lightbulb go off in my head.

If one person didn't know how to hard boil an egg,
I was sure there had to be more people that didn't know how either!

So today - I'm explain how I hard boil eggs.
It's super easy and how I've done it for years.

Put cold eggs in a medium saucepan.

And add enough water to cover completely. 

Bring the water to a strong rolling boil.

Turn the heat off.

And immediately cover with the saucepan lid.

Start the timer for 15 minutes.

And once that's up submerge eggs in ice cold water.

And that folks - is it. 

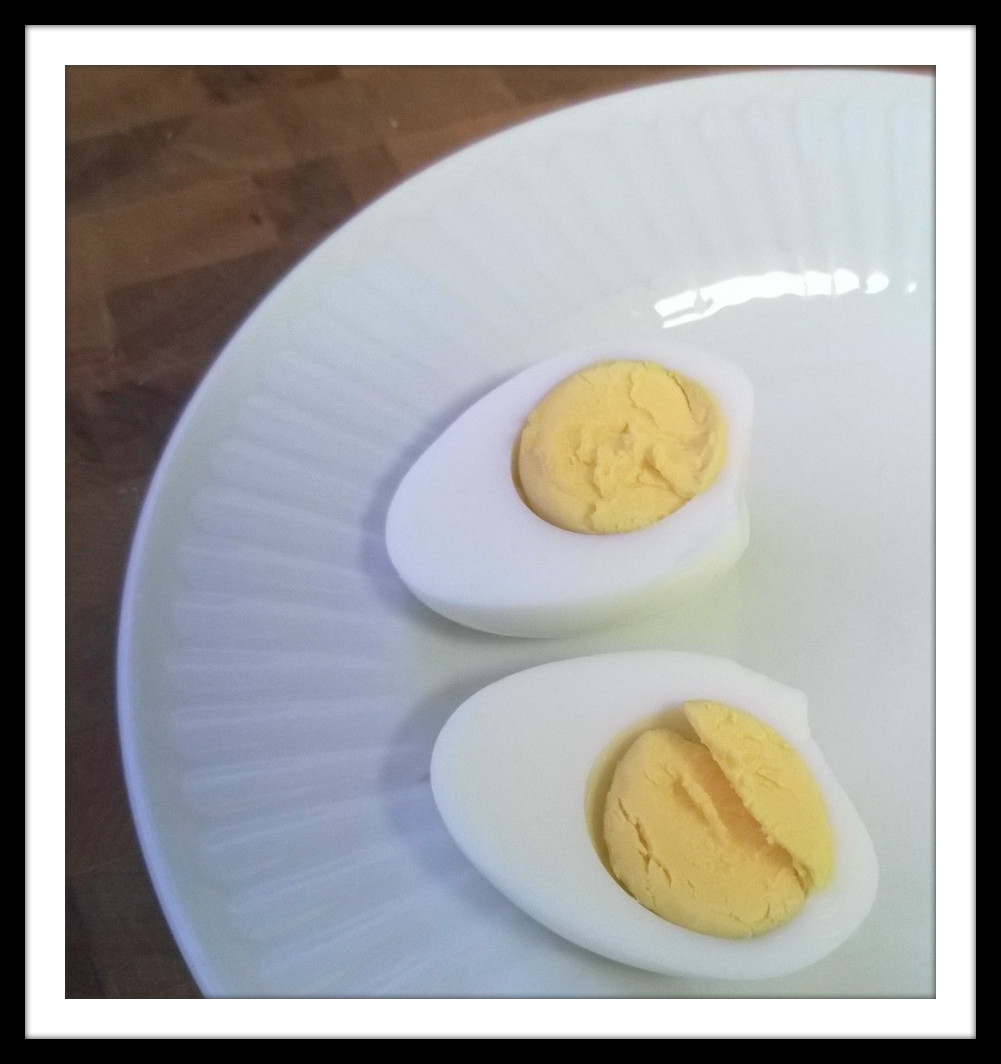
Mmmmm perfectly cooked hard boiled eggs!!!

While I don't have any special tricks,
I will say that I find older eggs tend to peel easier,
and a little better than eggs that are super fresh!

*Note - this method does not work for all farm fresh eggs.