Showing posts with label DIY. Show all posts

Wednesday, October 12, 2016

DIY: Craft Closet Makeover!

If you've read my blog for any time now,
you'll know that I'm into crafts and DIY projects,
so of course I have quite a few supplies.

Earlier this year I showed you a fun DIY project

But my craft supplies don't end there.
I have half a closet in my den full of craft "stuff"
and I was fed up with the way it was stored.

So today I'm showing you my Craft Closet Makeover.
It was pretty simple, cost around $50 and looks so much better!
I was so happy with the end result.

The Before
I'm so embarrassed how messy this looks!

Supplies I picked up at Target.

All cleaned out and ready to be made over.

The Target supplies assembled and in place.
Now time to fill it up!!!

The After!
I've added and changed a few small things since this picture,
but like I said before I am so happy with the way it turned out.
I love having everything organized and easily accessible.

Monday, September 12, 2016

DIY: Watercolor Glasses - A Failure

Not to toot my own horn,
but I think I'm pretty good at DIY projects 
But I'm not gonna lie - I sometimes fail.

And today I'm here to show you a BIG fail.

One of my coworkers showed me this fun project.
I immediately knew it was something I wanted to try,
but to put my own twist on it, I used glasses instead of mugs.
That may have been my first mistake if I'm being honest...

The Goods:
Nail Polish
Glasses
Disposable Bucket
Wood Skewers
Warm Water

Not Pictured:
Nail Polish Remover
Cotton Balls /Q-Tips

Set up something to dry your glasses on,
keeping them raised to prevent sticking if possible.
I used parchment paper and plastic knives and it worked well.

Fill your disposable bucket with warm water...

Add the nail polish to the surface of the water
and quickly swirl it around with a wooden skewer.

Dip your glass into the water - straight down and straight out.
Place glass on plastic knives to dry completely.

Change the water and add more nail polish between dipping each glass.

As soon as I dipped the first glass, I didn't love them.
Heck, I didn't really like them that much, 
but I thought I could keep dipping to fix them!

After drying, I dipped them a second time with a second color.
And I still wasn't too thrilled...

So I dipped them yet again, making a total of three dips.
While not perfect, they were much better than after the first dip.

Use nail polish remover and cotton balls/q-tips to clean up the tip line of the dip.

Now here's where I REALLY failed...

The original directions say to seel the nail polish with a dishwasher safe ModPodge.
Silly me - I hand washed these glasses before doing so and completely messed them up!
My hard work (ok maybe not so hard) was ruined by my stupidity.
I luckily was able to save the glasses to use un-dipped.

For two DIY projects that weren't fails,
and ones that would be great for Halloween,
check out my Bat Decorations and Spook Banner.

Friday, August 12, 2016

DIY: Trough Planter Liners and Succulent Garden

A few weeks ago I posted the picture below on my Instagram.


I used to blog about my balcony garden quite often
but life got busy and my gardening was put aside.
I recently got the gardening bug again
and figured a succulent garden would be less work,
so today I'm sharing how easy it was to make mine!

I already had four of these awesome trough planters on hand.
I used to have coconut liners in them with seasonal flowers,
but I got sick of replacing them all too often
and sadly just had empty planters for awhile.

I had plans to purchase more coconut liners,
but in all honesty I wanted a different option.
While coconut liners look pretty nice,
it's my experience that they don't hold up well.
And after very little effort I think I found a good alternative...


My original though was to use rolls of burlap,
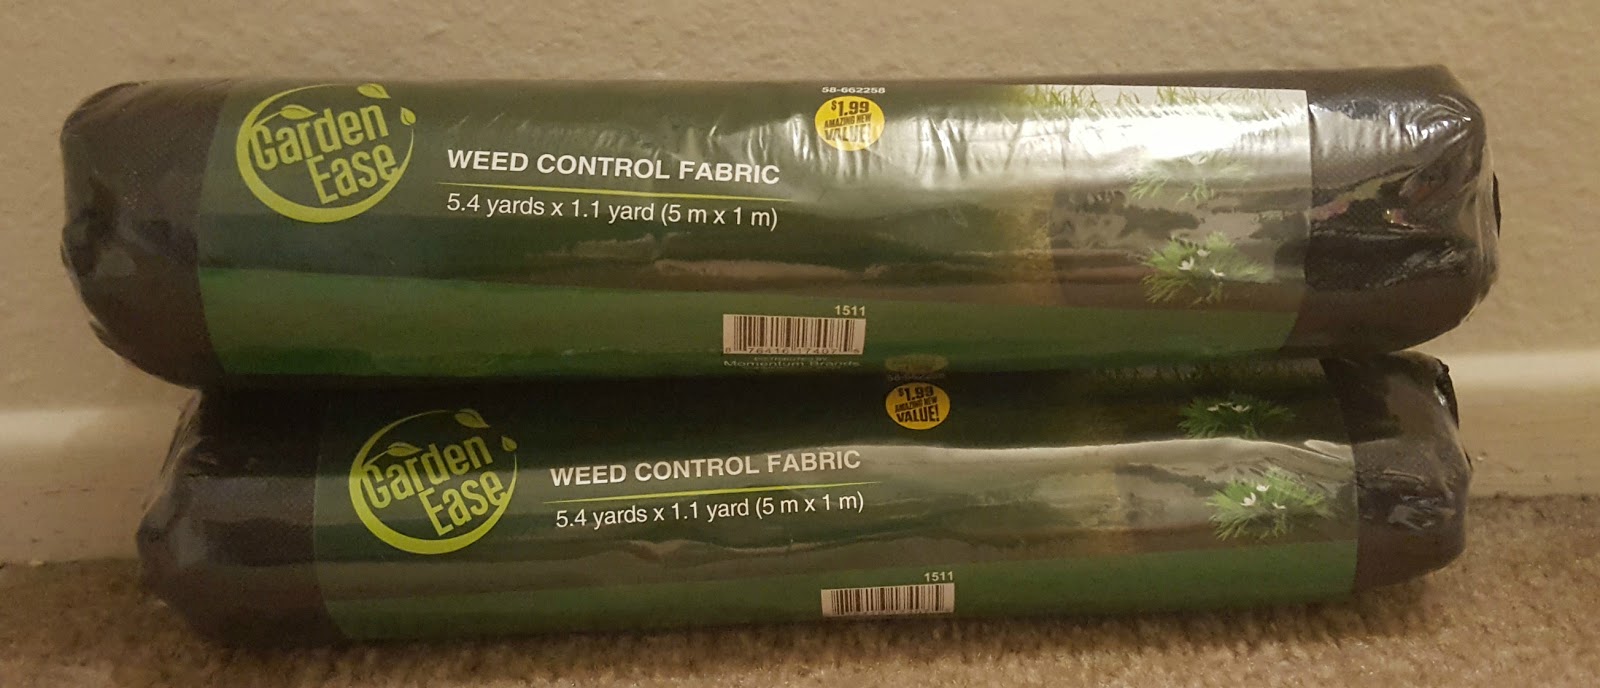
but the two rolls above caught my eye at a 99 cent store!
Together they cost me less than five dollars,
which is a lot cheaper than coconut liners,
so even if it didn't work I hadn't wasted that much money.

Before I even started on the project,
I knew the liners wouldn't be perfect or even close.
I am a HUGE perfectionist,
but I am not great at sewing by any means.
Please keep that in mind as you continue to read.

I simply wrapped one end of the liner around the trough planter,
making sure to leave extra so it lines not only the outside of the planter,
but so that it line the inside of the planter as well
I figured double lining would hold up best!

Just like with a past DIY post, I had a cute furry little helper!

Hopefully this shot gives you a better idea of how I was wrapping the liner.

Once I knew the exact size I needed,
I cut not only one for the planter I was working on,
but four in the same size to line all my trough planters!

Now the sewing fun begins!
(Sense the sarcasm???)

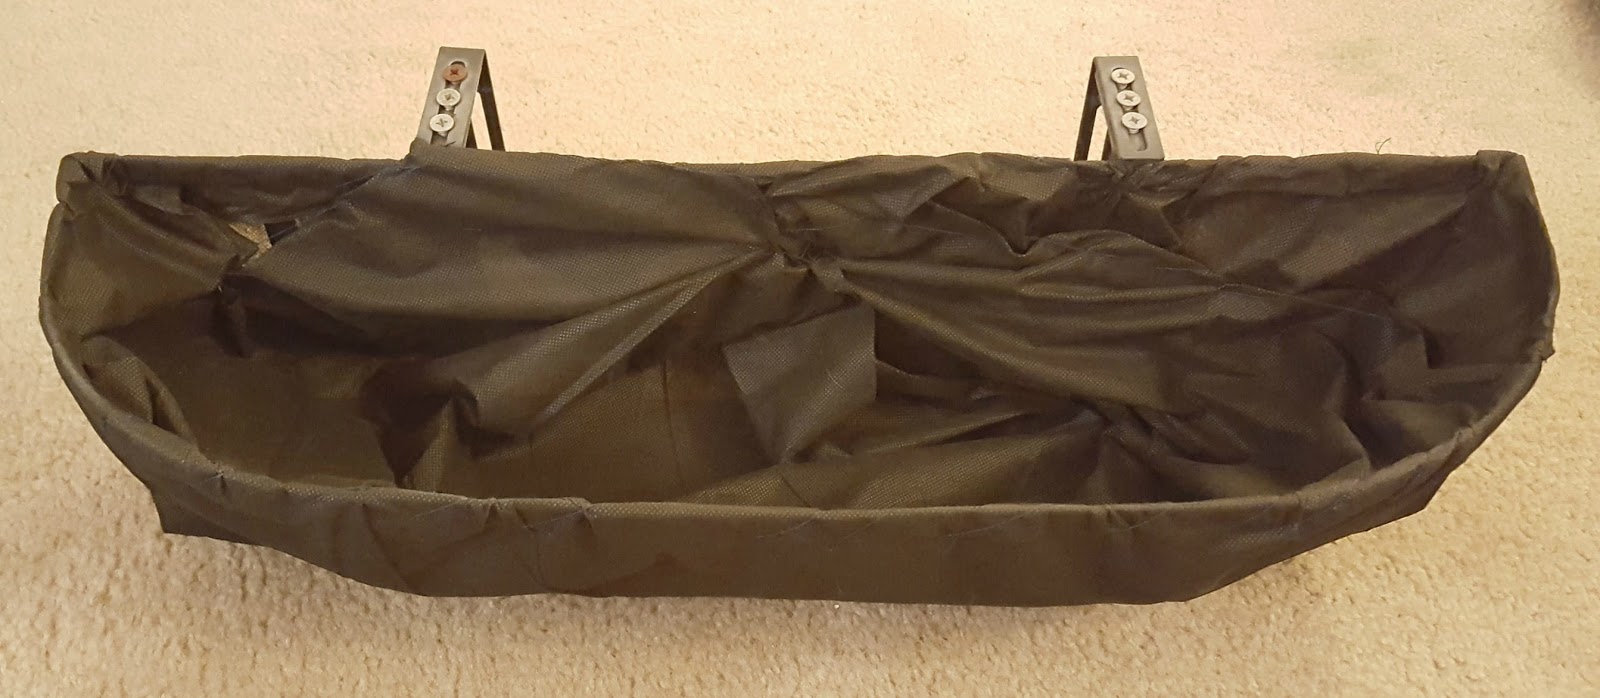
I first sewed the liner so it was secure to one side of the trough planter,
pulled the fabric tight and re-positioned it before continuing to sew the other side.

Like I warned you, it doesn't look super pretty...

And the inside lining didn't look any better...

But that really didn't matter in the long run,
because all these guys would cover the inside anyway!

After putting the succulents into groups and arranging them in the trough planters,
I removed them from their plastic pots and put them in the soil.

While they looked pretty good as is,
I just knew they were missing something!

After very little though, I realized it was decorative gravel that was missing.
A quick trip to OSH and I came home with a 20 pound bag to finish my DIY project!

Last but not least - I'm happy to report that everything is still living after a few weeks!

This post contains affiliate links meaning I may make a small commission for certain purchases.

Tuesday, July 12, 2016

DIY: Easy Flower Pot Decor

Some of the DIY projects I do are pretty intricate and take a bit of time,
while others are quite easy and are completed in a matter of minutes.
This month's DIY project fell in the latter category.

The Pier1 location closest to my apartment closed recently,
but before closing they had a massive sale for the whole store.
I snagged a few item including a small flower bunch for this DIY project.

I LOVE having fresh cut flowers around my apartment
but potted plants are pretty much a no-go because of bugs.
Instead I use fake plants to decorate and today I'm creating my own!

The Goods:
Glue Stick
Small Flower Bunch

Heat up your hot glue gun for a few minutes,
then put a thick coat of glue around the rim of the pot.

If it gets a little messy, that's okay because your flowers will cover it!

Before the glue dries, place your small flower bunch on top of the vase.
Press down just slightly so they stay stuck to the glue. 

Lastly, figure out where to display your super easy DIY project!

I wasn't joking when I said this one was easy.
It took me just a few minutes to complete,
and waiting for the glue gun to heat up took the most time!

This post contains affiliate links meaning I may get a paid for certain purchases.

Sunday, June 12, 2016

DIY: Gallery Wall

I have quite a few framed pictures around my apartment,
and I've always loved the look of gallery walls,
so I decided I'd make my own on the den's biggest wall.

Meter stick, pencil and level.
Not pictured - Clear Command Hooks*

Before hanging anything, I laid it out on the floor.
It took rearranging a few times to get it just how I wanted.

Some frames didn't have hooks so I added something like this.


I had three rows so I hung the middle row first.

Then hung the top and bottom rows in columns. 

Keep going. It's a little tedious, but in my option it's worth it in the end!

Halfway through I decided I didn't like the way some frames were hanging,
so I decided too rip the stands off the backs of frames that had them.

ANDDDDDDD Done!
I really really really love the way the the wall turned out and love the mix of pictures with decor.


*These were a great idea in theory, and were super easy to apply,
but I've had many fall off since originally hanging
and it's becoming a pain to hang them again and again.
Nails sadly may be the best bet for this project.