Monday, April 6, 2015

Baked Donut Monday: Chocolate Frosted with Sprinkles!


I'm back again for another Baked Donut Monday post
and today I'm going to tell you about some super tasty
CHOCOLATE FROSTED DONUTS WITH SPRINKLES!

I couldn't wait to make different kinds of baked donuts.
Trusty Google led me to many different delicious recipes,
and I quickly decided to try out this one with a few changes!
If you're a chocolate lover these will win you over!

The Goods:
Flour
Baking Powder
Baking Soda
Ground Nutmeg
Eggs
Brown Sugar
Milk
Sour Cream
Butter
Vanilla
Semi-Sweet Chocolate
Light Corn Syrup
Water
Rainbow Sprinkles
(Full Recipe at bottom of post!)

In a large bowl, whisk the following ingredients:
eggs, brown sugar, milk and sour cream.

Add the melted butter and vanilla
and whisk until fully combined.

Wet ingredients get ready to meet the dry ingredients.

Pour the wet ingredients into the dry ingredients...

And mix with a hand mixer!

Your dough will be rather thick.

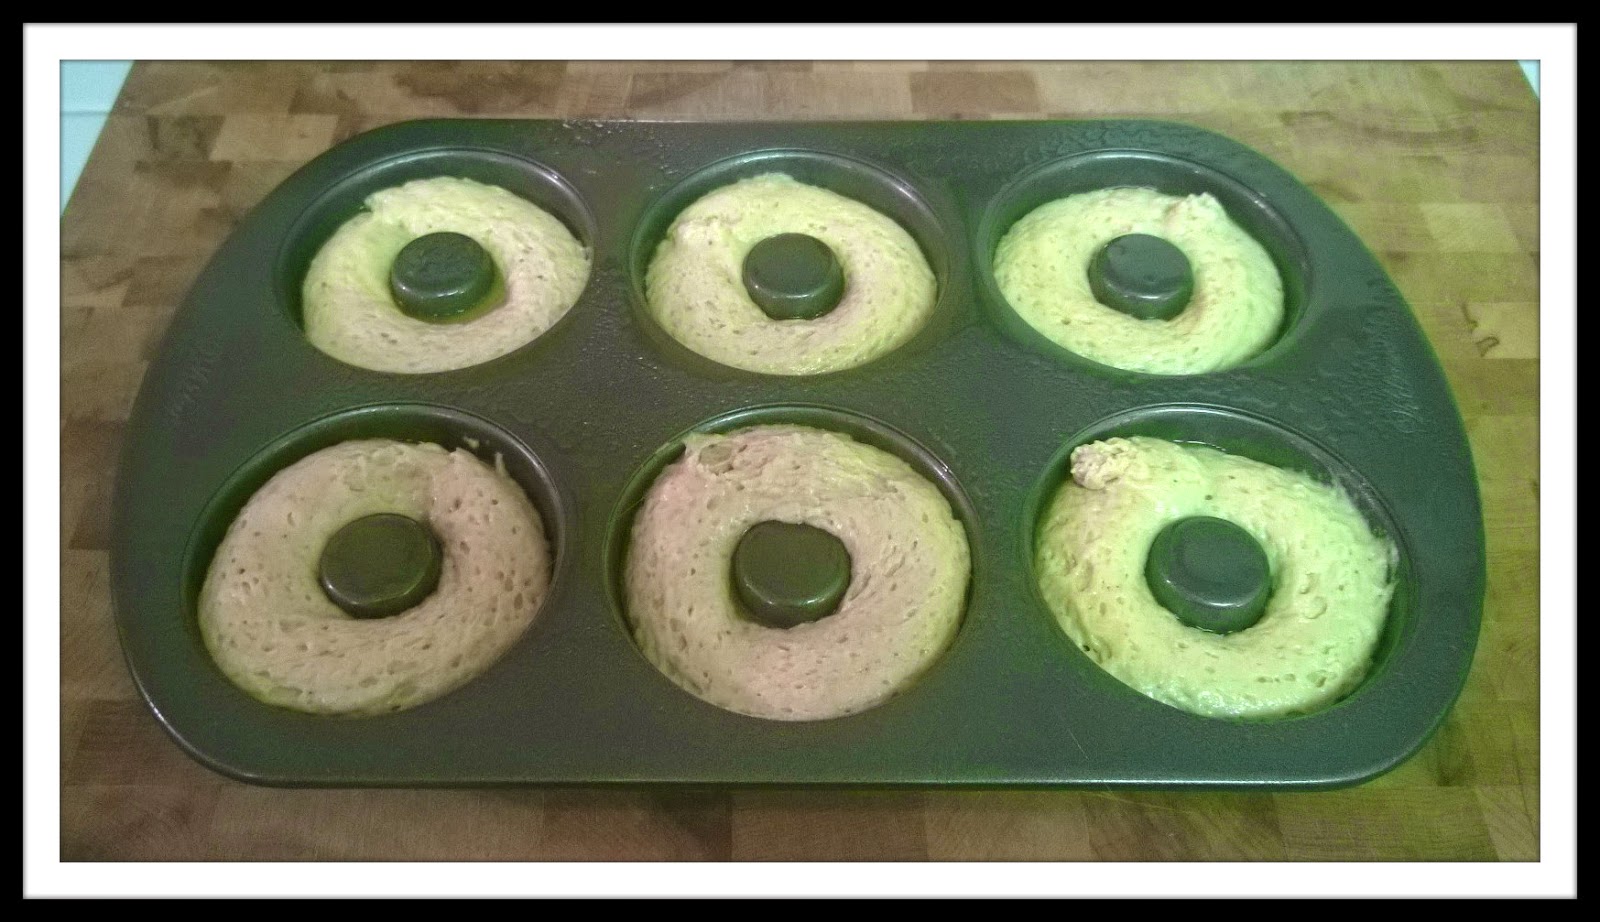
 Cut off the the tip of the zipper bag and fill your donut pan 1/2 to 3/4 full. 
Bake for about 10 minutes.

Remove from oven, 
cool in the pan another minute,
then cool completely on a wire rack.

Melt your chocolate ingredients and get your sprinkles ready.

Now the real fun begins!
Dip your donuts in the chocolate,
letting the excess drip off 
and dip in sprinkles to your liking.


Chocolate Frosted with Sprinkles Donut Recipe

For the donuts:
2 cups flour
2 teaspoons baking powder
1/2 teaspoon baking soda
1/2 teaspoon ground nutmeg 
2 large eggs
2/3 cup brown sugar
1/2 cup milk
1/2 cup sour cream
4 tablespoons unsalted butter, melted
3 teaspoons vanilla extract
For the Chocolate Frosting:
1 cup semi-sweet chocolate (chips or chunks)
4 tablespoons unsalted butter
4 teaspoons light corn syrup
4 teaspoons water
rainbow sprinkles
  1. Preheat oven to 350 degrees, grease a donut pan and set aside.
  2. In a large bowl, combine the flour, baking powder, baking soda, and nutmeg .
  3. In another large bowl, whisk the eggs, brown sugar, milk, and sour cream together.
  4. Add the melted butter and vanilla, then whisk until fully combined. 
  5. Pour the wet ingredients into the dry ingredients and mix with a hand mixer. 
  6. Transfer donut batter into large zipper bag and fill donut pan until 1/2 to 3/4 full. 
  7. Bake for about 10 minutes and cool on a wire rack. 
  8. In a microwave safe bowl, add the chocolate chips, butter, corn syrup, and water. 
  9. In 20 second increments, melt in the microwave (stirring after each time) until completely melted and smooth. 
  10. Dip the tops of the donuts into the chocolate glaze, letting the extra glaze drip off. Immediately dip into sprinkles to your liking.


Friday, April 3, 2015

Homemade Pancakes

For years I've made pancakes using boxed mix.
I thought the pancakes tasted good,
and they were so easy to make
so I didn't see anything wrong with the mix.

On Shrove Tuesday I wanted to make pancakes,
but when I checked my pantry I was all out of mix!
It's very unlike me not to have a back up, 
especially if something is low.

Since I had my mind (and stomach) set on pancakes,
I looked online for an easy recipe because it was a work night.
Trusty Google came in handy once again
and led me to this recipe that sounded pretty good.

After making half a batch of them that Tuesday,
I knew I'd never want to use boxed mix again.
And since they turned out so tasty,
I just had to share the recipe on my blog!

The Goods:
Flour
Milk
Baking Powder
Sugar
Salt
Butter
Eggs

Whisk the dry ingredients together in a large bowl.
Combine the milk, melted butter and eggs in another dish.
Pour the milk mixture into the dry ingredients
and mix until there are no longer any lumps.

Let your mixture sit for at least 10 minutes.
This will make your pancakes extra fluffy!

After 10 minutes, start heating up your pan.
I use a double burner cast iron griddle, 
but use whatever you have on hand. 

Once your pan is nice and hot, it's time to spray it with some kind of oil.
I recently found the above spray coconut oil and was so happy!

Using a measuring cup, pour the mixture onto your pan.
Make sure to leave enough space for flipping!
Once little bubbles appear on your pancakes and start popping,
that's when you know your pancakes are ready to be flipped!

Flip all your pancakes and cook the other side.

Now get ready to make even more!
You can make them all the same size...

Or you can make smaller ones with the next round!

Yeah - a few of those got a little too done, but they still tasted great!

Once you're done cooking all your pancakes it's time to dig in!!!

And if you're like me and make WAY too many,
freeze them in zipper baggies to enjoy in the near future.

These pancakes are so easy to make and incredibly tasty,
 so I'm guessing you may never us mix again either!


Tuesday, March 31, 2015

March Garden Update

When I originally started this blog,
it was mainly about documenting my garden.
I wanted to be able to look back to see how things grew.

I've only posted about my garden a few times recently.
You can read the most recent post here.
Or one from last Fall (yes that long ago!!) here.

Over time, my blog has evolved quite a bit.
Sadly, the garden posts got less and less frequent.
But that's hopefully changing starting today!!!

I recently decided to implement something new on my blog.
I will be posting about certain topics at specific times each month.
And every LAST DAY of the month will be about the garden.

So without saying much more - here is March's Garden Update!!

Let me start of with my AWESOME herb garden!
I recently did a DIY project and am so happy with the outcome.
Check back very soon for a complete post all about the chalkboard pots.

This jalapeno plant is going strong.
It survived the little winter that Southern California had
and already has a bunch of new growth!

My lemon tree!
I'm SO excited for the first one.
And I think I'm going to get to pick it any day now.

And can we talk about all the new growth?
C'monnnnnnnnnnnnn lemon!!!!

Oh hello GIANT Christmas tree!


Flowers that currently only have buds, no actual flowers.

More flowers with just buds.

Exciting update, I know!

Oh yay - actual flowers finally!!!
Poppies, Snap Dragons and Marigolds.

Oh and even MORE flowers!!!

Like I said at the beginning of this post, 
I will be blogging about garden updates 
every last day of each month.

It may not be a complete update each month,
but it will be about something in the garden.
So keep coming back to see what I have growing.

Sunday, March 29, 2015

Turkey and Quinoa Stuffed Peppers

One of my friends is always posting pictures of dinners she makes.
They always look so good and make me so hungry!
She recently posted Stuffed Peppers that she made.
They looked amazing and I couldn't help but ask for her recipe.

She didn't follow a recipe, but instead just made it up herself.
I was impressed and couldn't wait to make them!
And now here I am sharing their deliciousness with YOU!!!

The Goods:
Cooked Quinoa
Ground Turkey
Onion
Garlic
Jalapeno
Bell Peppers
Corn
Black Beans
Green Chilis
Tomato Sauce
Taco Seasoning
Cheddar Cheese (Not pictured - oops!)
Saute your onion and garlic until fragrant.
Add chipped jalapeno and ground turkey.
Cook until the ground turkey is browned.

Season with taco seasoning and then add tomato sauce.
Stir to combine with ground turkey mixture.

Add your corn and black beans, then stir again.

Now time for the quinoa!
Add that and stir.

Last, add the green chili and stir one last time.

Prep your peppers by washing, deseeding and cutting them in half.
Then stuff, and I mean STUFF, them with your turkey quinoa mixture.

Spray your covered baking dish with cooking spray.
Add the number of peppers you want to bake and cover with cheese.
I only baked three of the eight I prepared,
but froze the remaining ones to bake sometime soon!

Cover the baking dish and bake for 40 to 50 minutes.

Ta da!
Now time to dig in and enjoy!!!

If you want the peppers to be less crisp, you can do one of two things:
1. Cook a little bit longer 
or 
2. Add 1/2 cup of chicken broth to the dish before baking.

Turkey and Quinoa Stuffed Peppers Recipe
4 to 5 bell peppers
1 1/2 cups cooked quinoa
1 pound ground turkey
1/2 onion - chopped
1 garlic clove - minced
1 jalapeno - minced
1/2 cup black beans
1/2 cup corn
1 can green chilies - diced
7 oz can tomato sauce
1 teaspoon taco seasoning
fresh cilantro
fresh parsley
salt and pepper to taste
cheddar cheese - shredded

  1. Preheat oven to 400.
  2. Sauté onion and garlic until fragrant. 
  3. Add jalapeño and cook one minute.
  4. Add ground turkey and brown.
  5. Season with salt, pepper and taco seasoning.
  6. After five minutes or so, add tomato sauce 
  7. Once cooked, combine in a bowl with quinoa, black beans, corn and green chiles.
  8. Add chopped cilantro and parsley to your liking
  9. Put mixture into peppers. 
  10. Spray a Dutch oven. Put the peppers into a Dutch oven and cover the peppers with cheese. 
  11. Put the lid on and bake 40 to 50 minutes.

Friday, March 27, 2015

Favorite Easter Candy

Happy Friday Everyone!!
I'm back today for another Friday Link Up!
And again, I'm linking up with THREE different groups.
Make sure to check them all out at the bottom of this post!

I haven't done a Friday Link Up in awhile,
and with Easter being right around the corner,
I figured now was a great time to talk about my
FIVE FAVORITE EASTER CANDY!!!

Note: These are in no particular order,
just five types of Easter candy I really like!
I've linked to where you can currently buy them online too.

Chocolate Covered Marshmallow Eggs and Rabbits!
Even better if they're covered in DARK CHOCOLATE!

Peeps Chick and Bunnies.
So I'm a lil strange and DO enjoy these.
But, they have to be a little stale and starting to get hard.
I know, strange!

Sour Jelly Beans!
I've tried both the Starburst and Jelly Belly ones,
but think I need to try the Yummy Earth ones this year!

Shape it like an egg, I don't care.
Easter is just another excuse to eat some yummy Reese's!

Last but not least...
You didn't think I'd forget these did you?
How can Robyn not like Robin Eggs?
If the regular ones are a mouthful, maybe try the mini ones!

Now for more Friday Link Up Fun, check out the blogs below!

Andrea and Erika's blogs from Friday Favorites.

April and Christina's blogs from 5 on Friday.

Karli and Amy's blogs from oh hey friday!