Sunday, December 18, 2011

Gingerbread House Construction

One of my closest friends recently said her boyfriend wanted the two of us to make a gingerbread house together. I hadn't thought of making one in quite a few years, but after just a little thought - I figured it was very festive and would be fun to do!

After decideing to make the gingerbread house, I next decided we would be using a kit! I've made a gingerbread completely from scratch before, but this time I wanted something quicker and easier. So the next day I picked up a gingerbread house making kit at Michaels. There were quite a few choices and to be honest,  I had a hard time choosing. I even called a few people for input!!!

Even with the kit it took a few hours to construct because we wanted it to look good. We weren't just going to slap the walls together, throw some candy on and call it a day. No - we were going to take our time to construct a gingerbread house that looked like two adults did it instead of two five year olds! 

Here's a look at the building process and the fun we had doing it!

The Kit!

Robin prepping the Gingerbread

Measuring the base.

Cutting the base!
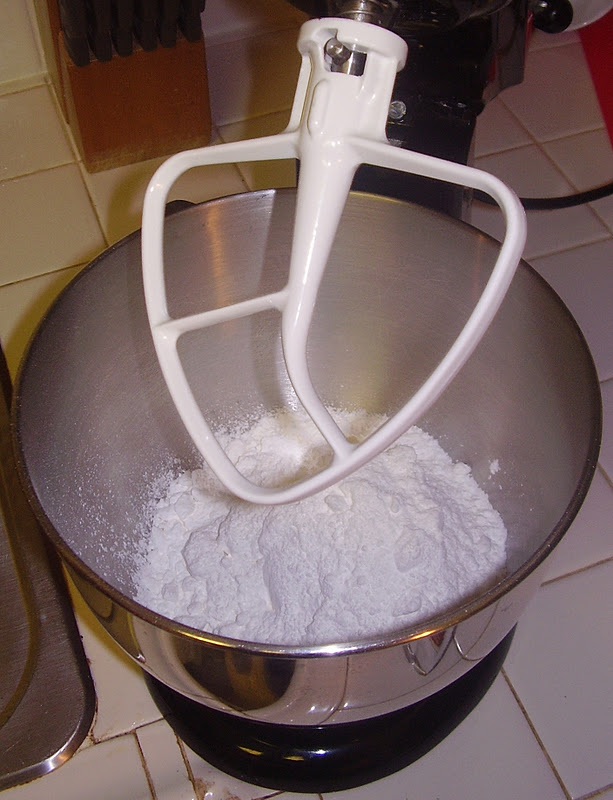
Beginning the icing.

Adding the water.

Mixing!

Annnnnd mixed!

Beginning construction.

Putting up the walls.

And the roof is on!

Done constructing...

Time to decorate!!!

Robin beginning the decorating process.

Can't forget the front door! :)

Perfecting the window.

Roof decorated, now working on the front of the house.

The front of the house AND the front path are done!

Now - onto the back!

Man...

This is taking FOREVER!

Making progress on the back.

More decorations to the front yard! 

Finished product from the side.

And the completed back view!

Last but not least, an ariel shot! 

Making the gingerbread house was a long process, but a fun process and I'm very glad that I did it with Robin! Thanks for the suggestion Alex! 


Sunday, December 11, 2011

Fun With Pillsbury Crescent Rolls - Take 5!

I'm really starting to like making things with Pillsbury Crescent Dough. It's usually quite easy and the end result has always been quite tasty!  This time it was:

Chicken and Cheese Empanadas!

I recently made a batch of my Chicken Tortilla Soup and I made a little extra chicken in hopes of making something with it. After searching online for a few minutes, I found a delicious recipe that was VERY easy to make. 

I actually threw these together at a friends house after work one night so I forgot to take all my normal pictures. Sadly, a picture of the ingredients is one that was forgotten. Pretent it's here. Just picture the following ingredients:
  • 1 Cup Shredded Cheese
  • 1 Cup Shredded Chicken
  • 1 Serrano Chili Pepper - Diced
  • 1 to 2 Cloves Garlic - Diced
  • 1 Small Shallot - Diced
  • 1/4- 1/2 Teaspoon Cumin
  • Salt and Pepper to Taste
  • 1 Tube Seamless Crescent Dough
I also forgot to take pictures or the empanada making process too...so picture the following steps:
  1. Roll out dough into rectangle and cut into six smaller rectangles. 
  2. Mix the rest of ingredients in a bowl.
  3. Distribute mixture evenly on rectangles, fold in half and seal edges with a fork.
  4. Bake at temperature according to dough label for about 10 minutes total, flipping after 4 or 5 minutes.
Pre-Baked Empanadas 

Baked Deliciousness!!! 


The Wind & The Cold

In the past few weeks, both the horrible winds and cold temperatures have been wrecking havoc on my garden and balcony in general. For the most part, living in Southern California is WONDERFUL, but the crazy winds we had recently and the freezing, or close to freezing, temperatures we're currently getting are not cool. I'm really not a fan.

Here's a little look at what's the wind caused me to do!

My storage unity on it's BACK!
With the herb container on top holding down a tarp
and hanging window boxes are leaning up against the sides.

Lime tree and palm pushed into the corner for protection.
Other small plants getting out of the wind too.

Hanging planters taken down and 
and other plants are rearranged.

Another view of the tree, palm and storage unit.

My set-up after the winds finally died down a few days later.

Lime tree and palm are back in their places.
Christmas tree and Geraniums are moved to new spots
 and window boxes are rehung!

Storage unit standing up again and secured better than before!
Hanging planters are put back on their hooks too.

Lime tree, peppers and newly positioned strawberry plant.

The table set back up!

And after surviving the once in a century winds, 
I'm now having to battle the cold temperatures!

Here's what I'm doing almost nightly 
in hopes I save all my amazing plants.

Lime Tree

Herb Container

Table plants and hanging flowers moved under the table. 

Geraniums and Palm.

We're supposed to have more cold days coming up, but I'm just hoping my plants make it through the rest of Fall and all of Winter!


Sunday, December 4, 2011

Adventures In Pie Making: Turkey Pot Pie

The last and FINAL post in Pie Month will the the first and only savory pie!

With the rest of my turkey leftovers I decided to make Homemade Turkey Pot Pies!!! Since I got the delicious turkey brine recipe from her, I turned to The Pioneer Woman again and found an amazing recipe

Instead of going on and on about how great it is and how wonderful it tastes - I'll just say that I'll NEVER eat a frozen pot pie again unless I have to! This put them to shame by far and is really not that hard to make! Give it a shot! I did and was really glad I did!!

Here's the steps to making the most amazing pot pie EVER!

Pie Goods!

Melt The Butter.

Toss In Chopped Carrots, Celery and Onions.
Sauté And Cook A Couple Minutes. 

Add The Chopped Turkey.
Cook A Couple Minutes.

Sprinkle With Flour And Stir.


Pour In Chicken Broth And Stir.


 Pour In Cream And Stir.

Add Frozen Peas And Stir.

 Salt And Pepper To Taste.
Cook A Couple Minutes - Until Thickened.

Perfect Consistency!

Individual Pot Pies!

Three Covered And Ready To Bake. 

One Cover And Ready To Freeze.


DONE!

Brining A Turkey

I know it's over a week after Thanksgiving, but I don't care because this Turkey Brine is SOOOOO amazing I just had to share! The recipe comes from The Pioneer Woman, so I'm not that surprised I liked it so much! I've always been very happy with the outcome of the recipes I get from her website and cookbook.  

Since I was so impressed with the outcome, I'll probably end up doing it other times throughout the year instead of just around Thanksgiving. Who doesn't love having amazing fresh roasted turkey anyway???? It's so tasty alone, on sandwiches (see below) and used in other recipes (see post coming soon!). Oh and you could even freeze some too to use later. 

Here's my little trick though... I roast JUST the turkey breast instead of the whole turkey. Why? Well mostly because I really only like the white meat, but also because it's a much smaller portion!

So now that I've ramble about how amazing this brine is - let me show you how to make it!  

The Goods
(Minus the Turkey Breast!)
I halved the original recipe in the link above
since my bird was only a lil over 5 pounds!

Orange Peel!

Coming to a boil.

Turkey Breast In A BAGGGGG.

So I forgot to take a few pictures...

Like the brine over the turkey.

Or the turkey in the brine in the pot chilling for 20 hours.

SORRY!

After bringing and rinsing - I stuffed the cavity with sliced oranges.
And roasted it in a bag!

Roasted bird!

After roasting for about 2 or so hours and cooling,
I pulled the delicious meat off the bone and it was SO moist!

And I ate simple turkey sandwiches like this for the next few days!
THIS is the main reason I roasted the turkey breast...

And I will be doing this again next year. Brine included. Heck - this was so tasty I may make brined turkey breast a lot more often. In fact, I don't think I'll ever make one and not brine it!