Monday, May 28, 2012

Crawfish Baked Mac and Cheese

Most people choose to BBQ over the Memorial Day Weekend, but my neighbor and I decided to do something just a little different on Saturday!  

The night before, she had seen a recipe on the Food Network for Lobster Mac and Cheese and after she told me about it I immediately agreed that we would make it together that night! But instead of lobster, we decided to use crawfish. It was a good decision too because I'd never eaten crawfish before, but had a feeling it'd be amazing. 

And amazing it was!  So amazing I want some right now even though it's probably a million calories. Oh yummy cheese, and pasta, AND CRAWFISH!!! 

YUM,

YUM,

YUM!

You can take my word for how amazing this is, OR you can make some and enjoy it yourself. Make sure you use ALLLLLLLL of the cheese sauce though. It looks like it's a lot, but it's not - I promise!

I'm usually doing the cooking and photographing, but this time I got enjoy just snapping pictures for the most part. I helped here and there, but my wonderful friend and neighbor, Elina deserves most of the credit! :)  

Now let me show you how to make Crawfish Mac And Cheese.

Shredded Cheddar and Gruyere Cheese

Cavatappi Pasta!

Cooked Crayfish. MMMM

Milk

Milk warming! 

I missed getting a picture of butter and flour step - SORRY!

Add the warm milk to the butter flour mixture slowly. 

Keep whisking to get all the lumps out!

Almost done...

Not yet...

And done!

Now start the pasta and cook 5 to 7 minutes.

While the pasta is boiling...

Add the cheese to the milk/butter/flour mixture.

Stirring to combine after each addition.

More cheese!

Yup - even more! :)

And now a little pepper...

And some Fresh Nutmeg too!

Give it one last stir.

Drain the cooked pasta.

And add the cheesy goodness to the pasta!

Stir it all up!!!

Put into individual ramekins and top with fresh bread crumbs. 
(Note - we halved the recipe and it still made WAY more than what's pictured!)

Bake at 375 for about 30 minutes.

Let cool and devour!!!!


Sunday, May 20, 2012

Fresh Fruit Salad

I love when the warmer temperatures start to be a regular thing because that means yummy fresh seasonal fruit is or will soon be available.

I love all the seasonal pitted fruits - plums, peaches, nectarines, apricots, and cherries. I love the juicy citrus in Spring - honey tangerines and HUGE navel oranges. And of course - I love ALL the fresh melon - watermelon, cantaloupe, honeydew to name a few.

I loveeee fruit in general, but I love it even more this time of year. And one of my FAVORITE ways to eat it, is to make a giant fruit salad with everything chopped pretty small. It so good and can be stored to eat easily for a day or so.

The recipe is all up to you, and can be modified however you like. Take a look at one I made recently.

Grab a BIG bowl...

Throw in some Fresh Pineapple

And some Kiwi

And some Mango too!


Now a bunch of Strawberries

And how about some Honey Tangerine too?

Mix it all up...

and ENJOY!


Grow Baby, Grow!

I am SO excited about how well my garden is growing! The weather has been super HOT, and sadly a few of the more delicate flowers didn't make it so I replaced them and made the planters more visible so I don't forget to water them again - I'll post about all that soon!

Now let me show you the amazing growth I'm talkin' about folks!

My Snap Peas!
While they still have peas growing, it's not thriving.
The lower parts are yellowing and I'm not sure why.
It might be a drainage problem...
I'm going to let it do it's thing until it stops producing peas.
Then - I'll rip everything up, fix any problems and start again!


My FIRST Jalapeno of the Season!
This is SO exciting and I'm very happy there are more coming soon.
I can't wait to enjoy peppers off my plant like I have in years past.
Yum, yum, yum, yum, YUM!

The Basil Plant is recovering...
Last weekend I noticed quite a few little munch holes,
so I quickly got rid of all evidence and that ended up being quite a bit.
This is the plant AFTER I took the pruners to it.

And here it is a week later!
You can see the tiny little leaves, 
that's the new growth from where I cut back.
So small, but amazing it grew that much in ONE WEEK!

Now - The Tomato Plant I have HIGH hopes for because of plants I grew in years past.
I have had amazing success in years past using this growing method, 
so I'm hoping I have as good of luck this year!

And it's already looking good!!
Little Tomatoes!!!

AND more blossoms!

Speaking of blossoms, look at these BEAUTIFUL flowers I have growing...

Cosmos, Dahlias, Marigolds and Pansies!

Another Dahlia.

And Sunflowers!

Last but not least, my AMAZING lime tree!
I cannot wait to have limes from it again.
C'monnnnnn lime tree, c'mon!!!


Sunday, May 13, 2012

Oreo Cream Cheese Brownies

In the past, I've mentioned how I have a folder on my computer desktop labeled "Recipes To Try". I keep recipes in there - in Sub-Folders based on typed - and keep them there until I try them and decide if it's worth keeping or not. I recently decided to make something from the "Sweets" Sub-Folder and after browsing quickly, I decided on...


These things SOUND amazing and folks, they really are! They are everything you would imagine and maybe even more. The rich little treats are so amazing and I cannot wait to make them again for more people to enjoy!

Now that I've gone on and on, let me show you how to make these amazing little treats!


The Goods!
Unsalted Butter
Granulated Sugar
All Purpose Flour
Unsweetened Cocoa Powder
Salt
2 Eggs
Milk
Oreos - Coarsely Chopped
Cream Cheese
Powdered Sugar
Vanilla Extract

Combine Flour, Cocoa Powder and Salt.
Set aside.

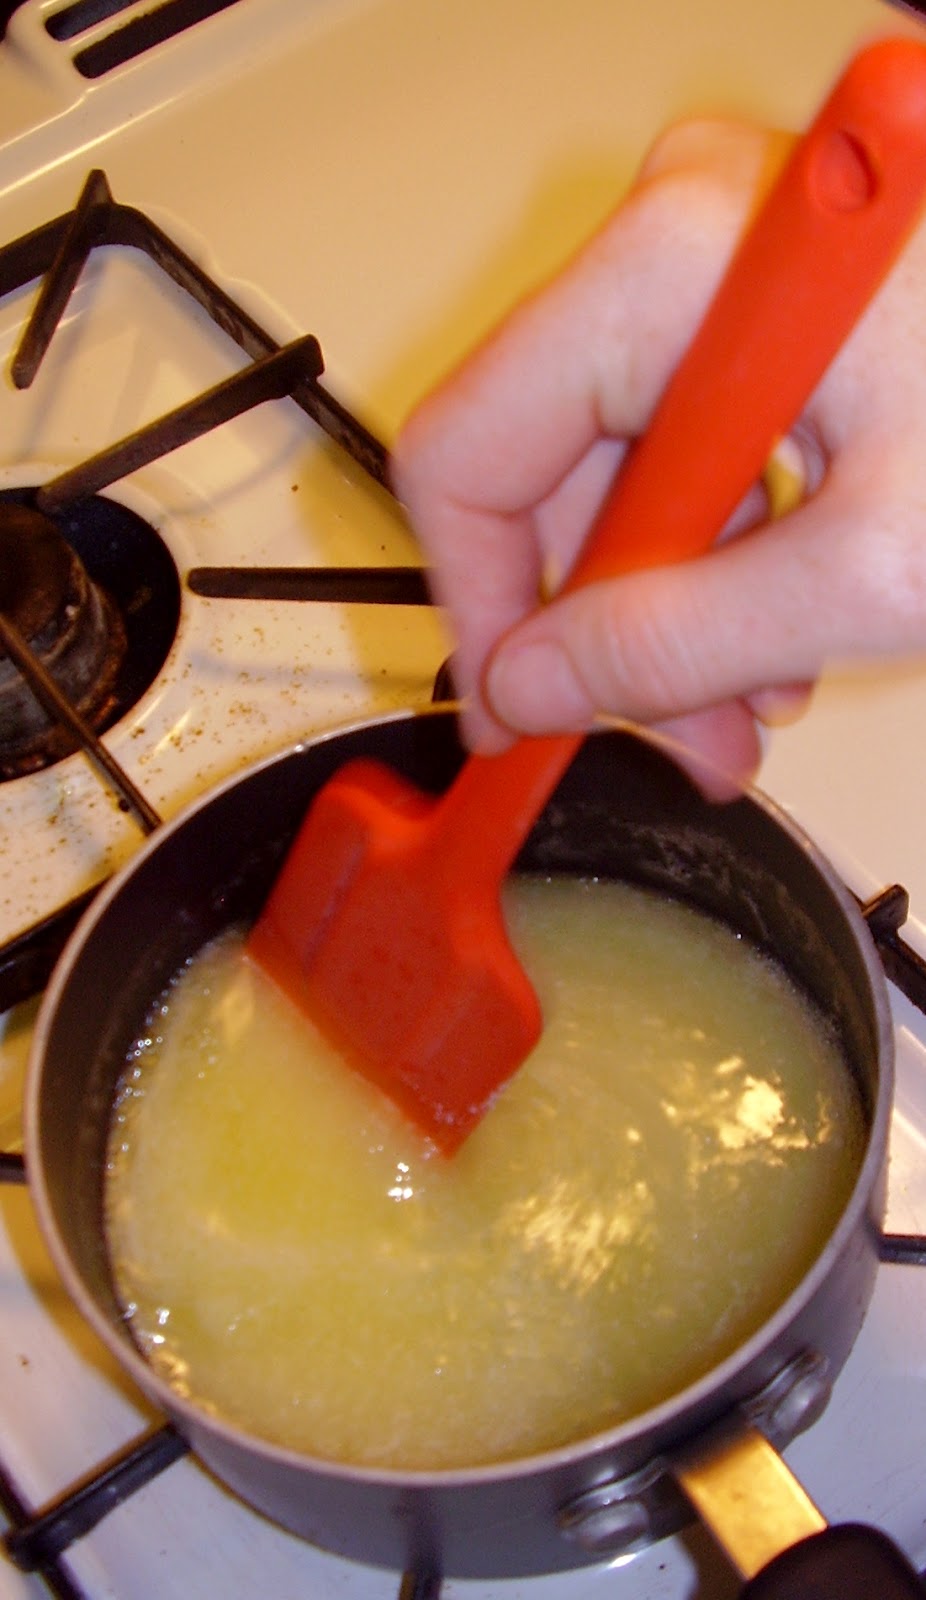
Combine butter and sugar. 
Bring to a boil stirring frequently. 

Boil for one minute.
Remove from heat to cool slightly.

Whisk together the dry ingredients while sugar butter mix is cooling.

Once at room temperature - whisk the eggs into the sugar mixture.

And then whisk in the milk too!

Add the wet ingredients into the dry ingredients and combine.

Done mixing!

Now fold in the crushed Oreos.

And put the mixture into a foil lined baking pan.

And start the Cream Cheese mixture...

Put Cream Cheese, Powdered Sugar and Vanilla in Mixing Bowl.

Mix, mix, mix it up!

Andddddd finished!

Now drop it on top of the brownie mixture and swirl around with a butter knife.

Bake at 350 for 20 to 25 minutes.
Cool completely before cutting.
Like the original recipe mentioned - I put mine in the fridge first too.


Sunday, May 6, 2012

Look At My Garden Growwwww

Over the last week there have been some amazing developments in my garden! My plants are loving the weather and are showing it with their awesome growth!

Let me start with the cherry tomato plant. I was a little worried about this sucker after planting it in my Topsey Turvey recently, but it's proving to be quite alright. I officially have little tomato flowers and the plant has grown a lot in the last week.


Equally exciting is the jalapeno plant! It is quite tiny, but it already has it's first flower that will hopefully become the first pepper.  C'monnnnnnn peppers. I am hoping that I have a ton and I cannot wait!!!


Probably THE most exciting thing right now are my Snap Peas. They recently started flowering, then they began to flower like CRAZY, and now they little peas are getting bigger and bigger. I will soon get to enjoy the sweet crisp deliciousness!


Vegetable Pizza

My friend Ron came over the other night and I made a vegetable pizza for us to enjoy together. I've made many kinds of pizza before, but never one like this! While I have made dough from scratch in the past, I didn't this time and I relied on the pre-made kind from Trade Joe's.

This Vegetable Pizza is so easy to make and can be modiefied however you'd like. Here's how I made ours pizza!

The Goods:
Trade Joe's Whole Wheat Pizza Dough
Pizza Sauce
Mozzorella Cheese
Broccoli
Green Pepper
Tomatoes
Red Onion

Let dough sit and stretch out to pan shape.

Cover in pizza sauce.

Add some Cheese and Veggies.
Add more Cheese and more Veggies!

Preheat oven to 450 degrees and bake for 8 to 10 minutes.

 MMMMM!

Devour alone or with a great friend like I did!